As winter’s icy grip tightens, the flickering flames of a gas fireplace offer a comforting respite. However, when your pilot light misbehaves, the cozy ambiance can quickly turn into a chilly disappointment. Fear not! With our step-by-step guide, you’ll be able to revive your fireplace with ease, transforming your home into a haven of warmth and cheer.

Image: truediy.net
Delving into the realm of gas fireplaces, we discover that the pilot light serves as the guardian of the flame. It’s a tiny, persistent flame that acts as a beacon, guiding the main burner into action when you turn the fireplace on. However, even the most diligent pilot lights can occasionally falter, leaving you in a cold quandary. Fear not, dear reader, for our comprehensive guide will illuminate the path to a swift and successful fix.
1. Ensuring a Steady Supply of Gas
Before embarking on any troubleshooting adventures, let’s start with the basics. Verify that your gas fireplace is properly connected to the gas supply and that the valves are open. A simple check of the shut-off valve, located near the fireplace or in a convenient access point, can save you from unnecessary head-scratching.
2. Locate the Pilot Light Assembly
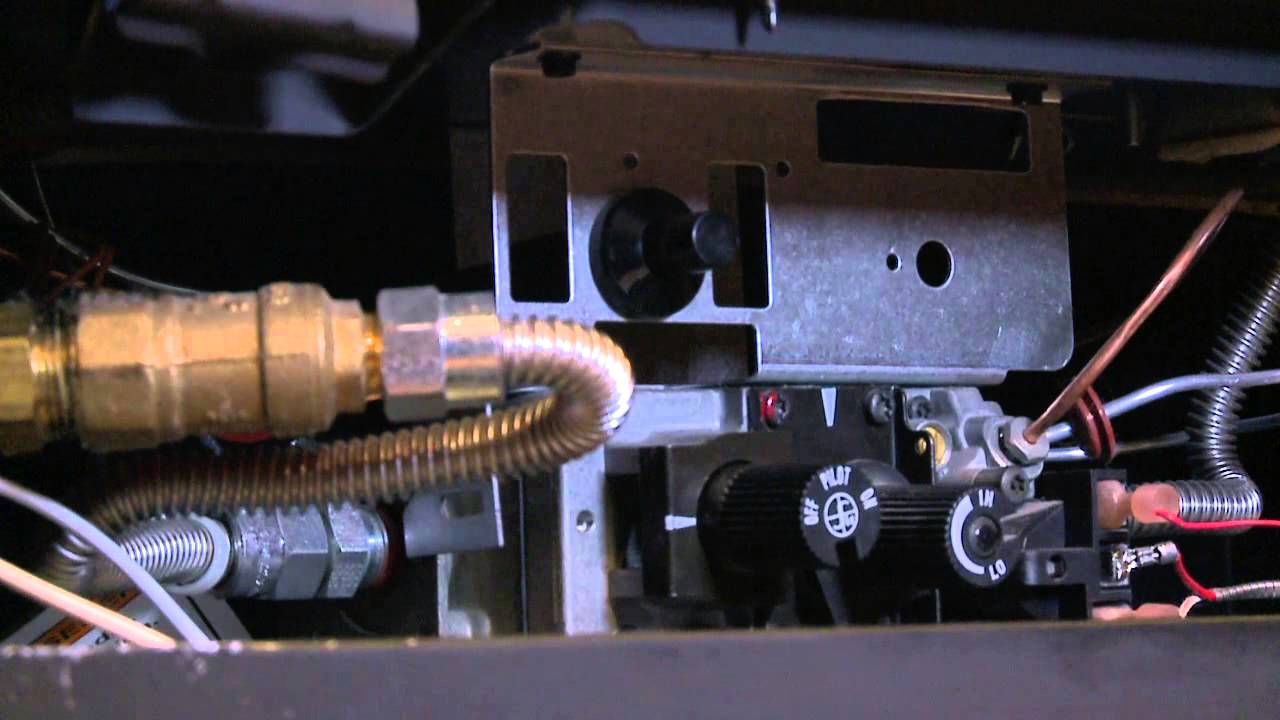
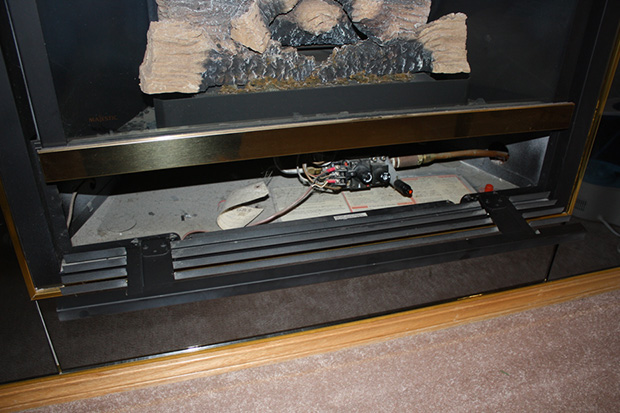
With the gas supply confirmed, it’s time to locate the pilot light assembly. Typically, it resides near the bottom of the fireplace, concealed behind a removable panel or grate. Once accessed, you’ll notice a small metal tube with a tiny flame flickering at its tip—that’s your pilot light!
3. Check the Thermocouple
The thermocouple is a safety feature that prevents gas from flowing if the pilot light is not lit. It’s located near the pilot light and consists of two dissimilar metal wires encased in a protective tube. Over time, the thermocouple can become dirty or corroded, hindering its ability to sense the pilot flame. Gently clean the thermocouple with a soft brush or a cotton swab dipped in rubbing alcohol.

Image: homeminimalisite.com
4. Relighting the Pilot Light
Now comes the moment of truth—relighting the pilot light. Locate the ignition button or switch, which is often situated near the pilot light assembly. Press and hold it for a few seconds while simultaneously pressing the gas control knob to the “Pilot” position. You may hear a clicking sound as the spark ignites the pilot light. Release both buttons and observe if the pilot light remains lit.
5. Adjusting the Flame
Once the pilot light is lit, it’s time to adjust the flame height for optimal performance. Refer to the manufacturer’s instructions or consult a qualified technician for specific instructions on how to adjust the flame. A well-adjusted flame will be steady and approximately 1/2 inch long.
How To Fix A Pilot Light On A Gas Fireplace
Expert Insights and Actionable Tips
According to industry experts, regular maintenance is key to preventing pilot light issues. A yearly inspection and cleaning by a qualified technician will keep your fireplace operating smoothly and safely. Additionally, using high-quality gas can help prolong the life of your pilot light and other fireplace components.
If you encounter any difficulties or persistent issues, do not hesitate to contact a licensed gas technician. Their expertise will ensure a safe and efficient repair, restoring warmth and comfort to your home.
In conclusion, fixing a pilot light on a gas fireplace is a task that most homeowners can accomplish with a little know-how and our comprehensive guide. By following these steps and exercising caution, you’ll be able to restore the comforting glow of your fireplace, transforming it into a sanctuary of warmth and ambiance for you and your loved ones. If any challenges arise, remember that qualified technicians stand ready to assist, ensuring that your gas fireplace continues to spread cheer and warmth for many winters to come.