We’ve all been there: the dread of a suddenly ineffective blower motor fan in our beloved car, robbing us of that sweet relief from sweltering heat or freezing cold. But before you resign yourself to a hefty mechanic bill, arm yourself with the knowledge and confidence to fix this common problem yourself. Let’s delve into the world of blower motor resistors and embark on a step-by-step guide to restore your car’s breath of fresh air.

Image: fixenginepalumbo77.z19.web.core.windows.net
Understanding the Blower Motor Resistor
The blower motor resistor, a crucial component in your car’s ventilation system, regulates the airflow’s speed. It acts as a variable resistor, allowing you to adjust the fan speed from a gentle breeze to a powerful blast. Without a functioning resistor, your blower motor operates at full blast or not at all, leaving you battling uncomfortable temperatures and limited visibility on a foggy day.
Step-by-Step Blower Motor Resistor Replacement
1. Safety First: Before embarking on this electrical repair, park your car on a stable surface, engage the parking brake, and disconnect the negative terminal of your car battery.
2. Locate the Blower Motor Resistor: Typically, you’ll find the blower motor resistor tucked away behind the glove compartment or under the dashboard on the passenger side. Consult your car’s manual for precise details.
3. Remove the Glove Compartment (if necessary): Often, accessing the resistor requires removing the glove compartment. Locate the screws holding it in place and carefully detach it.
4. Unplug Electrical Connectors: Disconnect all electrical connectors attached to the resistor. Use a flat-head screwdriver or your fingers to gently pry them loose.
5. Unscrew and Remove the Blower Motor Resistor: Using the appropriate screwdriver, unscrew the screws securing the resistor. Carefully pull out the old resistor, taking note of its orientation for easy reinstallation of the new one.
6. Install the New Blower Motor Resistor: Insert the new resistor into its designated spot, ensuring proper alignment. Tighten the screws securely, but avoid overtightening.
7. Reconnect Electrical Connectors: Plug the electrical connectors back into the new resistor, ensuring a snug fit.
8. Reinstall the Glove Compartment (if removed): If you removed the glove compartment, carefully align it back into place and secure it with screws.
9. Reconnect Battery and Test: Reconnect the negative terminal of your car battery and start the engine. Adjust the blower motor fan speed to verify its functionality. If the fan operates as intended, you’ve successfully completed the replacement!
Don’t Be Afraid to Seek Professional Help
If you encounter any difficulties during the replacement process or if you’re uncomfortable working with electrical components, don’t hesitate to seek the guidance of a qualified mechanic. They possess the expertise and tools to ensure a safe and effective repair.
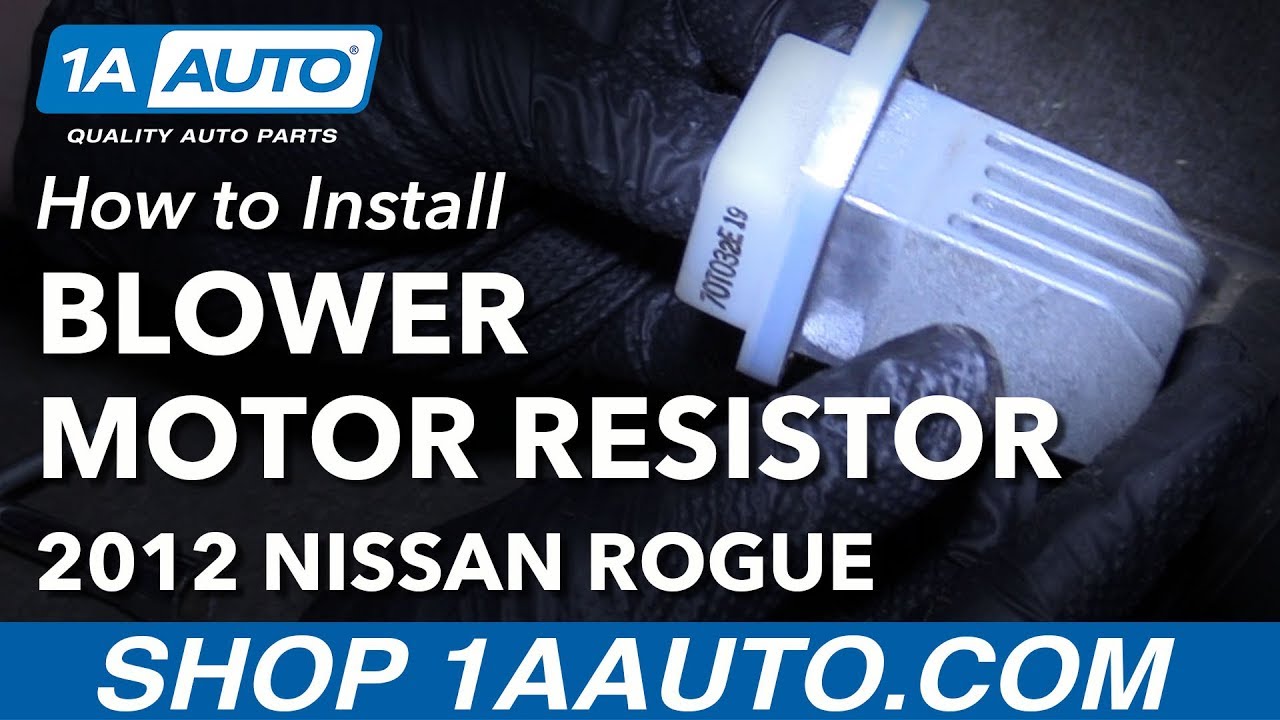
Image: manualfixmasters.z19.web.core.windows.net
How To Fix Blower Motor Resistor
https://youtube.com/watch?v=JZhvc24mCaQ
The Satisfaction of a DIY Fix
Replacing your blower motor resistor is not only a cost-saving measure but also a satisfying accomplishment. By tackling this task yourself, you’ve not only restored comfort and visibility to your car but also gained a sense of accomplishment and newfound knowledge. Congratulations on a job well done!
