In the ever-evolving world of firearms, the AR-15 rifle stands as a testament to innovation and adaptability. With its modular design, it offers countless possibilities for customization. Among these is the ability to swap out the fixed stock for one that better suits the user’s preferences or shooting style. This comprehensive guide will delve into the intricacies of removing an AR-15 fixed stock, empowering you with the knowledge and confidence to tackle this task with precision.
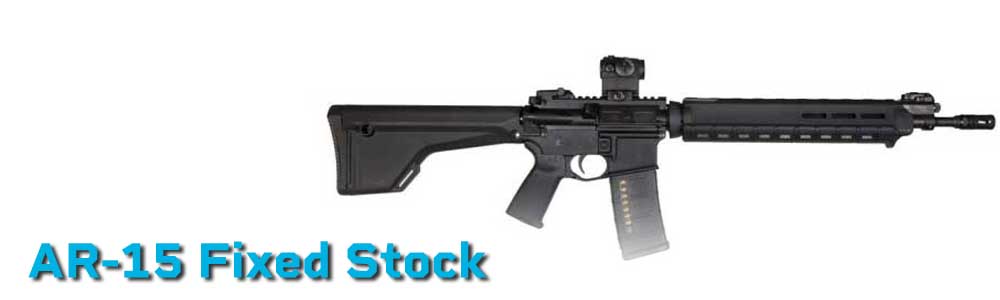
Image: www.mountsplus.com
The Anatomy of an AR-15 Stock
Before embarking on the removal process, it’s essential to understand the anatomy of an AR-15 fixed stock. The stock consists of two main components: the buffer tube and the receiver extension. The buffer tube houses the recoil assembly, including the buffer spring and recoil buffer, which mitigate the recoil forces generated during firing. The receiver extension, on the other hand, is the threaded component that connects the buffer tube to the lower receiver.
Gathering the Necessary Tools
To successfully remove the fixed stock, you will need the following tools:
- AR-15 armorer’s wrench or castle nut wrench
- Torque wrench (optional, but recommended)
- Hammer (with punch, optional)
- Punches (small and medium)
- Eye protection
- Gloves
Step-by-Step Removal Guide
Safety First: Always practice firearm safety and ensure the firearm is unloaded and rendered safe before removing the stock.
1. Remove the Magazine and Clear the Chamber: Verify that the rifle is empty by removing the magazine and retracting the bolt carrier group to ensure the chamber is clear of any rounds.
2. Disassemble the Lower: Remove the pistol grip, trigger assembly, and safety selector from the lower receiver, leaving the buffer tube attached.
3. Loosen the Castle Nut: Place the armorer’s wrench on the castle nut located at the rear of the buffer tube. Apply counterclockwise pressure to loosen the nut by half a revolution (180 degrees). Do not remove it completely.
4. Hold the Buffer Tube: Using one hand, grasp the buffer tube firmly to prevent it from spinning. With your other hand, continue turning the castle nut counterclockwise until it is completely removed.
5. Separate the Buffer Tube from the Receiver: Once the castle nut is removed, grip the buffer tube and pull it straight back. It should slide out of the receiver extension with relative ease.
6. Remove the Stock: Grasp the fixed stock and slide it straight back off the buffer tube. This may require some force if the stock is not properly aligned with the tube.
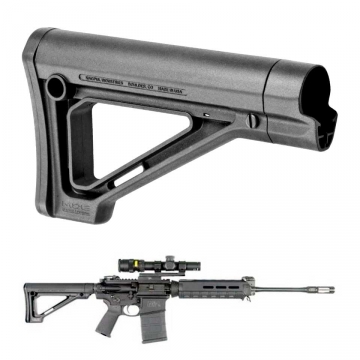
Image: www.mountsplus.com
Additional Considerations
In some cases, the fixed stock may be held in place by a roll pin or spring-loaded detent pin. If encountered, use a small punch or roll pin punch to remove these pins, allowing you to slide the stock off the buffer tube.
If you encounter any resistance or difficulty during the removal process, do not apply excessive force. Instead, reassess the situation and refer to the manufacturer’s instructions for alternative methods. Safety should always be paramount.
How To Remove Ar15 Fixed Stock
Conclusion: A Path to Customization
Mastering the removal of an AR-15 fixed stock unlocks endless possibilities for customization and personalization of your rifle. Whether you seek a more ergonomic fit, enhanced comfort, or simply a different aesthetic, this guide has empowered you with the knowledge and confidence to tackle this task with ease.
Remember to prioritize firearm safety at all times and always consult reliable resources if you encounter any difficulties. With careful execution, you can transform your AR-15 into a rifle that perfectly aligns with your shooting preferences, enhancing both accuracy and shooting enjoyment.
