Image: www.sau.com.au
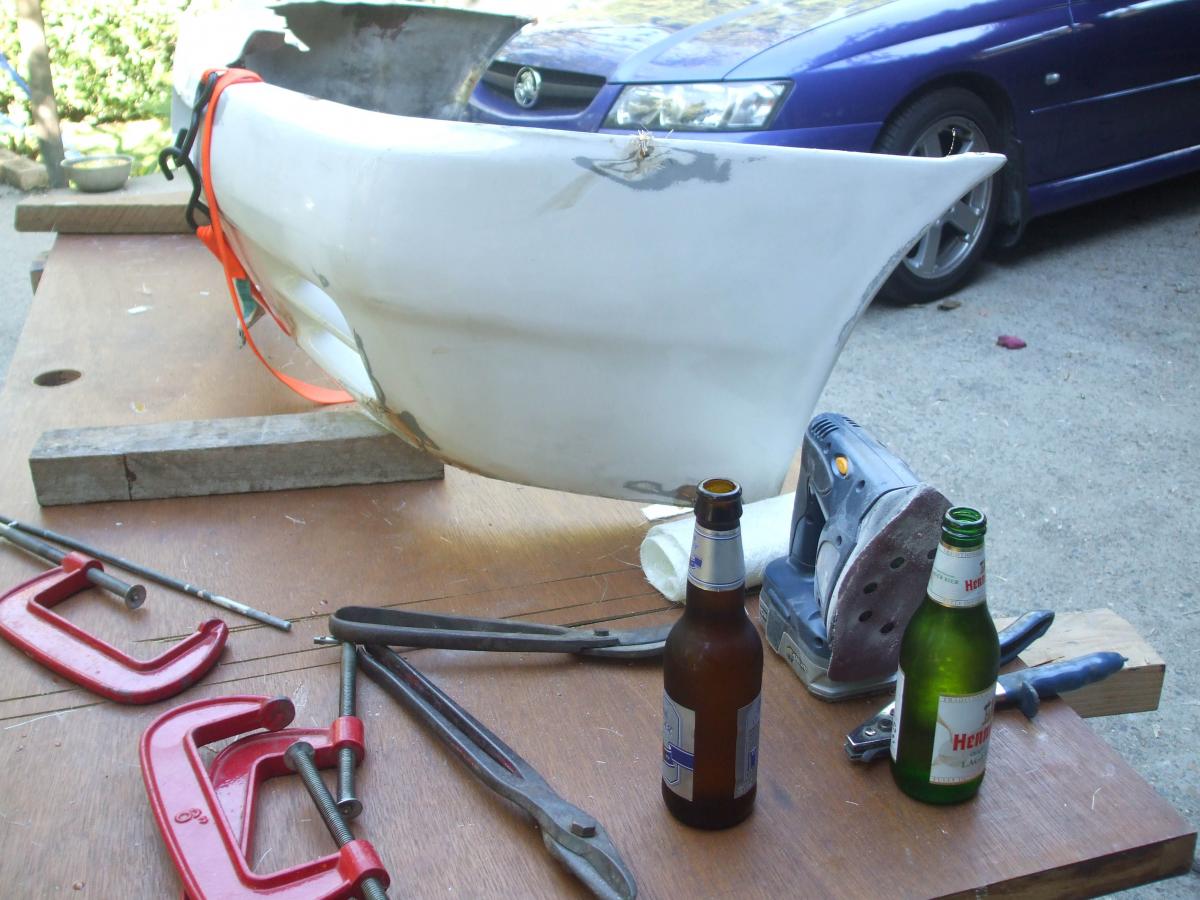
Are you facing an unsightly crack or dent in your fiberglass bumper? Don’t fret! Restoring a fiberglass bumper is a manageable DIY project that can save you a substantial amount of money compared to professional repairs. Embrace this comprehensive guide as your beacon of knowledge, empowering you to embark on this restoration journey with confidence and precision.
Understanding Fiberglass and Its Repair Importance
Fiberglass is a lightweight, durable material commonly used in automotive bumpers. Unlike metal bumpers, fiberglass bumpers are susceptible to cracking or denting upon impact. Timely repairs are crucial to prevent further damage, preserve the bumper’s structural integrity, and maintain the vehicle’s aesthetic appeal.
Materials and Preparation: A Checklist for Success
Before embarking on this repair odyssey, gather the necessary tools and materials:
- Fiberglass repair kit
- Sandpaper (various grits)
- Mixing cups and sticks
- Safety glasses and gloves
- Bondo or body filler
- Adhesive tape (optional)
- Wax and grease remover
Next, prepare the damaged area by thoroughly cleaning it with wax and grease remover to ensure proper adhesion of the repair materials.
Step-by-Step Restoration: A Craftsman’s Approach
-
Damage Inspection: Assess the extent of the damage. Determine whether it is a simple crack or a more extensive dent requiring additional structural support.
-
Sanding the Damaged Area: Using sandpaper, gently sand around the damaged area to create a feathered edge for a smooth transition between the repair and undamaged surfaces.
-
Mixing the Fiberglass Resin: Following the manufacturer’s instructions, combine the fiberglass resin and hardener in the designated mixing cups. Ensure thorough mixing to activate the resin.
-
Applying the Fiberglass Mat: Cut a piece of fiberglass mat slightly larger than the damaged area. Dampen it with the mixed resin and apply it over the damaged section. Use a brush or roller to smoothen any wrinkles or air bubbles.
-
Layering the Resin: Apply multiple layers of resin over the fiberglass mat, allowing each layer to cure before applying the next. This process builds strength and durability to the repaired area.
-
Sanding and Shaping: Once the resin has fully cured, sand the repaired area to blend it seamlessly with the surrounding surface. Use progressively finer grits of sandpaper to achieve a smooth finish.
-
Applying Bondo or Body Filler: For deeper dents or imperfections, apply a layer of Bondo or body filler over the fiberglass repair. Shape and sand until the surface is even and flush with the surrounding areas.
-
Priming and Painting: To protect the repaired area from the elements, apply a coat of primer and allow it to dry. Finally, apply the desired paint color and finish with a clear coat for added protection and shine.
Expert Insights: A Conversation with Professionals
“The key to a successful fiberglass bumper repair lies in proper preparation and attention to detail,” says veteran auto body technician John Smith. “Take your time, follow the instructions carefully, and don’t hesitate to consult a professional if needed.”
“Safety should always be a priority,” adds certified fiberglass specialist Mary Jones. “Wear protective gear, work in a well-ventilated area, and dispose of hazardous waste responsibly.”
Conclusion: A Journey of Restoration and Reward
With patience, precision, and the guidance outlined in this comprehensive guide, you can restore your fiberglass bumper to its former glory. Embrace the challenge, embark on this rewarding journey, and take pride in the satisfaction of completing it successfully. Remember, the road to automotive rejuvenation is paved with knowledge and determination.

Image: www.youtube.com
How To Fix Fiberglass Bumper
