The pain of discovering a cut in your cherished leather boots is akin to a stab to the heart. These boots have carried you through countless adventures, witnessed your triumphs, and become an extension of your style. Despair not, for I offer you a beacon of hope with this comprehensive guide to restoring your boots to their former glory.
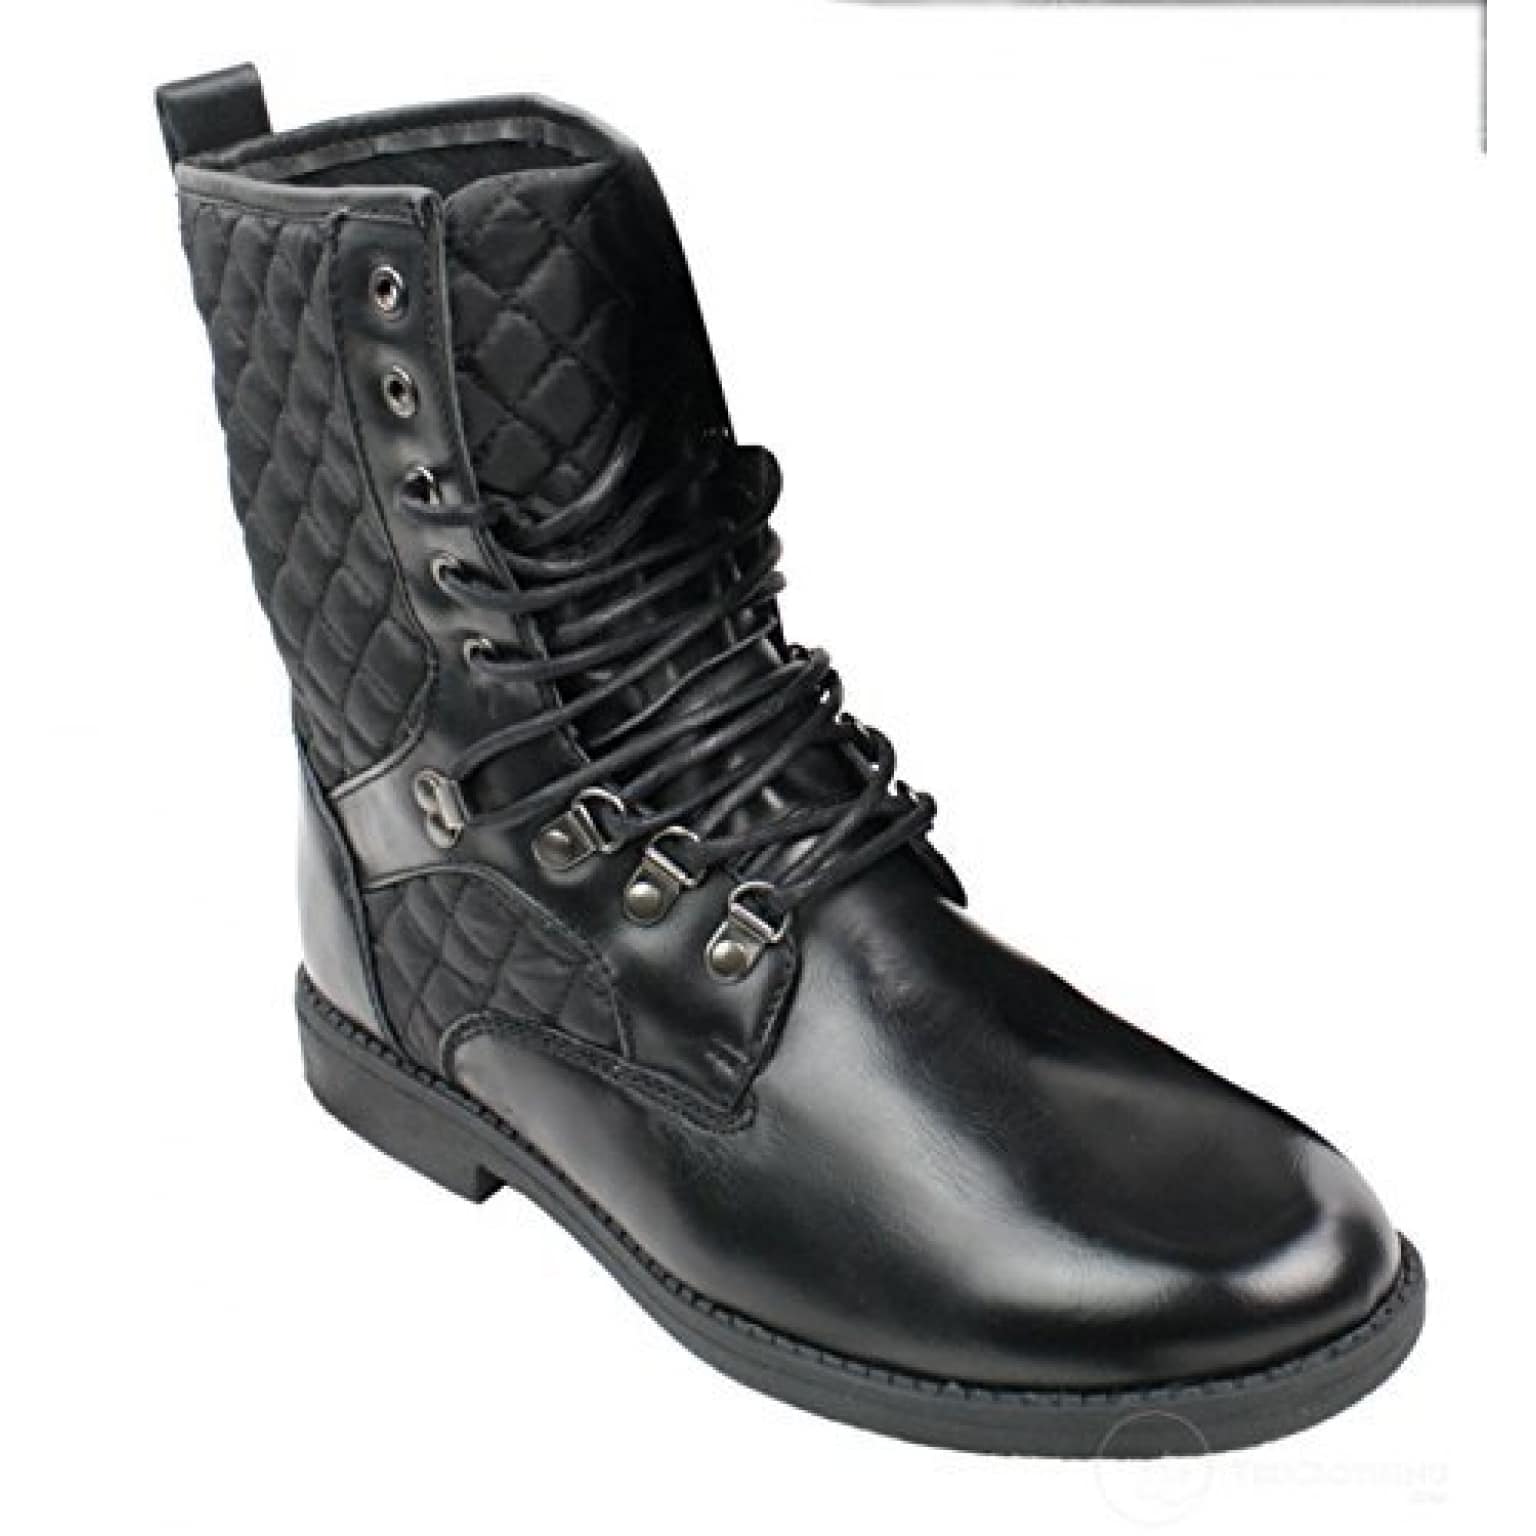
Image: happygentleman.com
The Anatomy of Leather and the Art of Repair
Leather, a durable and versatile material, owes its strength to the interwoven collagen fibers within. A cut disrupts this intricate structure, creating a weak point that compromises the boot’s integrity. Mending the cut means bridging this gap, restoring the leather’s resilience and safeguarding its appearance.
Step-by-Step Restoration: A Journey of Precision and Patience
-
Cleanse and Prepare: Gently remove dirt and debris from the cut using a soft cloth and leather cleaner. Allow the boot to air dry thoroughly.
-
Edge Beveling: Using a sharp knife or chisel, carefully bevel the edges of the cut at a 45-degree angle. This prepares the leather for adhesion and reduces the risk of future tears.
-
Adhesion: Apply a thin layer of leather adhesive to both beveled edges. Align the edges and press firmly together, ensuring close contact. Hold the pieces in place with clamps or weights. Allow the adhesive to set according to the manufacturer’s instructions.
-
Filling the Gap: Choose a leather filler that matches the color and texture of your boots. Apply a small amount to the cut and gently spread it into the gap. Smooth the surface with a finger or spatula, removing any excess filler.
-
Color Matching: Once the filler is dry, it’s time to blend its color with the surrounding leather. Use a leather dye or touch-up paint that closely matches the original shade. Apply the product sparingly, building up layers until you achieve the desired result.
-
Protect and Polish: Protect the repaired area with a leather sealant. This helps prevent moisture penetration and extends the longevity of the repair. Finish by polishing the boots to restore their original shine and luster.
Expert Insights and Tips to Enhance Your Repair
Renowned leather craftsman, Mr. Vincenzo Bellini, shared invaluable tips:
-
“Use high-quality adhesive specifically designed for leather repair. Inferior products may weaken the bond over time.”
-
“For optimum adhesion, sand the beveled edges lightly before applying the adhesive. This creates a rougher surface for better grip.”
-
“When filling the gap, avoid overfilling. Excess filler can create a weak point in the leather.”
-
“Allow ample drying time before each step. Rushing the process can jeopardize the integrity of the repair.”

Image: leatheradvice.com
How To Fix A Cut In Leather Boots
Conclusion: Your Boots, Renewed and Rejuvenated
With patience, precision, and a touch of TLC, you have successfully restored your leather boots to their former glory. They will once again withstand the rigors of your adventures, carrying you with confidence and style. Remember, even the most beloved items can experience wear and tear, but with proper care and repair, they can continue to bring joy and longevity.
