Read this How To Sew A Bag With Sides And Bottom article to find useful information for you, all summarized well by us.
How to Sew a Bag with Sides and Bottom
In the tapestry of life, creativity holds a vibrant thread, inviting us to weave our own unique masterpieces. Bag making, an art both ancient and modern, has captured the imagination of countless souls. Whether it’s a chic tote for your everyday adventures or a sturdy weekender for weekend getaways, sewing a bag with sides and a bottom is an enchanting journey that can turn your fabric dreams into tangible realities.
Step into the atelier of your imagination and gather the tools that will guide you on this creative expedition: fabric, thread, a sewing machine, a pair of sharp scissors, and an unwavering passion. As you embark on this sartorial adventure, let’s unravel the secrets of crafting a bag with sides and a bottom, transforming ordinary materials into extraordinary creations.
Gathering the Essentials
The foundation of any successful endeavor lies in preparation. For our bag-making mission, we’ll need the finest tools and materials. Choose a fabric that complements your style and the bag’s intended purpose. Sturdy canvas, pliable leather, or flowing silk await your selection. The choice of thread should harmonize with the fabric, ensuring a seamless union. Finally, gather a sewing machine that will faithfully stitch your dreams into reality.
With our tools and materials assembled, let’s embark on the enchanting journey of sewing a bag with sides and a bottom. Stitch by stitch, we’ll transform our fabric into a functional and stylish masterpiece that will accompany us through life’s vibrant adventures.
Step 1: Crafting the Bag’s Body
Unveil the beauty of your chosen fabric and cut two pieces for the bag’s main body. These rectangular panels will form the front and back of our bag, providing structure and shape. Next, measure and cut four strips of fabric for the bag’s sides. These strips will connect the front and back panels, creating depth and volume.
With precision and care, align the side strips along the edges of the front and back panels. Pin the strips in place, ensuring they are evenly distributed. Using your trusty sewing machine, stitch the side strips securely to the main body panels, creating a sturdy foundation for our bag.
Step 2: Shaping the Bottom
To provide a stable base for our bag, we’ll craft a bottom panel. Cut a piece of fabric in the desired shape and size. Rectangle, square, or oval – the choice is yours. Fold the bottom panel in half, right sides together, and stitch along the edges, leaving a small opening for turning.
Carefully turn the bottom panel right side out through the opening you left. Press the panel flat to create crisp edges, then topstitch around the perimeter to secure the shape and give it a polished look. This sturdy bottom panel will ensure our bag can stand upright with confidence.
Step 3: Joining the Sides and Bottom
With the bag’s body and bottom complete, it’s time to unite them. Place the bottom panel inside the bag’s body, aligning the raw edges. Pin the bottom panel to the side strips, ensuring the corners are neatly matched. Stitch around the perimeter, securing the bottom panel to the sides.
Your bag is taking shape, its body and bottom forming a cohesive unit. The sides stand tall, providing ample space for your belongings. The bottom panel provides stability, ensuring your bag will stand upright and carry your essentials with ease.
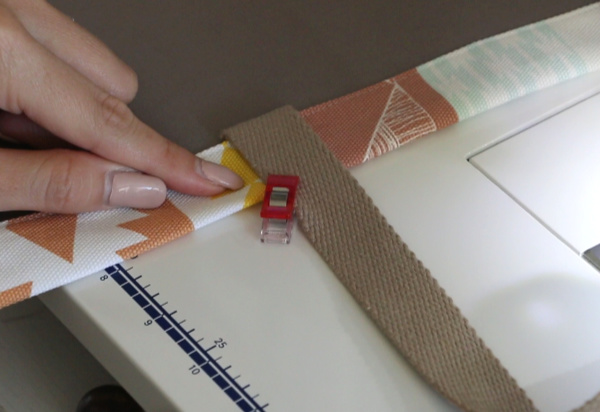
Step 4: Adding Handles or Straps
Whether you prefer the convenience of handles or the versatility of a strap, the choice is yours. For handles, cut two strips of fabric and fold them in half lengthwise. Stitch along the open edges, creating sturdy loops. Attach the handles to the top of the bag using either rivets or D-rings.
For a strap, cut a longer strip of fabric and fold it in half lengthwise. Stitch along the open edges, leaving a small opening for turning. Turn the strap right side out and press it flat. Attach the strap to the top corners of the bag using either swivel hooks or buckles. With handles or a strap securely in place, your bag is ready to embark on countless adventures by your side.
Step 5: Finishing Touches
To complete your bag-making masterpiece, add any finishing touches that reflect your unique style. Embellish the bag with decorative stitching, add pockets for organization, or incorporate a zipper for secure closure. Let your creativity soar and personalize your bag to make it truly one-of-a-kind.
With each stitch, you’ve poured your heart and soul into this creation, transforming fabric into a symbol of your individuality. Your bag is not merely an accessory; it’s a reflection of your spirit, ready to accompany you on life’s journeys.
Expert Tips and Advice
“The beauty of bag making lies in its versatility,” says seasoned seamstress Anya. “Experiment with different fabrics, colors, and embellishments to create a bag that truly expresses your style.”
“Pay attention to the quality of your materials,” advises master craftsman Ethan. “Sturdy fabric, durable thread, and reliable hardware will ensure your bag withstands the test of time.”
Frequently Asked Questions
Q: Can I use a sewing machine to sew the bag?
A: Yes, a sewing machine is an excellent tool for sewing bags, providing precise and durable stitches.
Q: What type of fabric is best for making a durable bag?
A: Canvas, denim, and leather are all durable fabrics suitable for bag making. Choose a fabric that aligns with the intended use and style.
Q: How do I add a zipper to the bag?
A: To add a zipper, cut a slit in the fabric where you want the zipper to be. Sew the zipper to one side of the slit, then fold the fabric over and sew the other side of the zipper in place.
Conclusion
As you embark on this enchanting journey, remember that the true joy lies in the creative process itself. Embrace the magic of sewing, stitch by stitch, and let your imagination soar. Whether you’re a seasoned seamstress or a budding crafter, the art of bag making awaits your exploration. So, gather your materials, let your creativity flow, and sew a bag that will be a cherished companion for years to come.
Are you ready to embark on the enchanting journey of sewing your own bag with sides and a bottom? Let your imagination guide you, and don’t forget to share your creations with us! Happy sewing!

Image: www.pinterest.com
How To Sew A Bag With Sides And Bottom has been read by you on our site. Thank you for your visit, and we hope this article is beneficial for you.
