Introduction
A sagging headliner can ruin the aesthetic appeal of your car’s interior, creating an unsightly distraction and detracting from your driving experience. But fear not, this common problem can be easily rectified with a little automotive ingenuity and the right materials. This comprehensive guide will equip you with all the knowledge and step-by-step instructions necessary to repair your headliner with adhesive spray, restoring its pristine look and bringing new life to your car’s cabin.
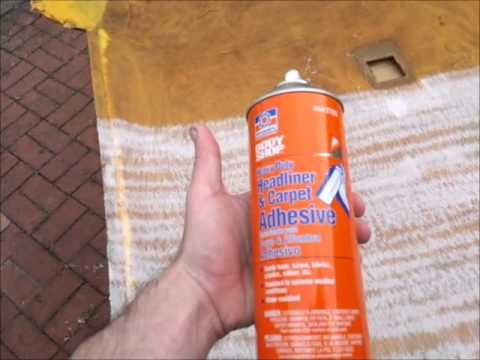
Image: quotestrendingau.blogspot.com
What is a Headliner and Why is it Important?
The headliner is the fabric or material that covers the ceiling of your car’s interior. It plays a vital role not only in the appearance but also in the functionality of the vehicle. A well-maintained headliner enhances the aesthetic appeal of the cabin, creates a more comfortable and inviting atmosphere, and contributes to the overall driving experience. Moreover, it insulates the interior from noise, heat, and cold, ensuring a quieter and more comfortable ride.
Tools and Materials You’ll Need
Before embarking on this project, gather the necessary tools and materials:
- Adhesive spray (headliner-specific or multipurpose)
- Fabric or headliner material (matching color and texture)
- Scissors
- Utility knife
- Measuring tape
- Spray bottle filled with water
- Soft, clean rags
- Stiff brush or bristle brush
- Helper (optional)
Step-by-Step Headliner Repair
-
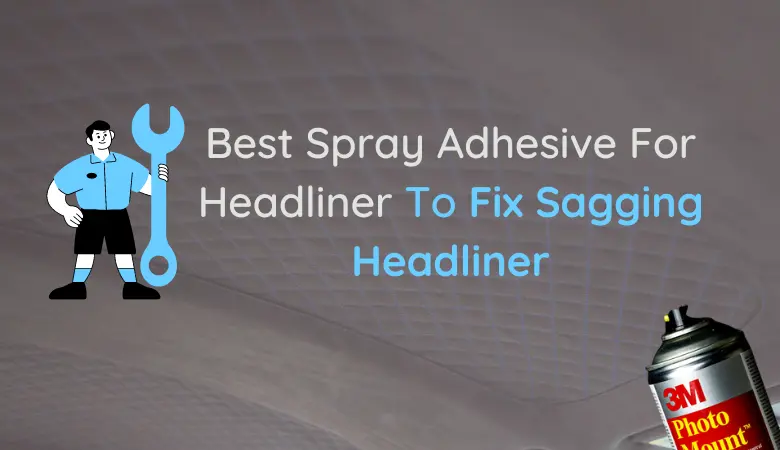
Image: ehcar.netRemove the Existing Headliner
Don goggles and gloves for protection. Using the utility knife, carefully remove the old headliner, cutting around the edges. If the headliner is glued down, work slowly and avoid damaging the substrate. Discard the old headliner.
-
Prepare the Substrate
Using the stiff brush or bristle brush, thoroughly clean the exposed substrate (the surface where the headliner will be attached). Remove any residual glue, dust, or debris that may interfere with adhesion.
-
Trim the New Headliner Material
Measure the exposed substrate and cut the new headliner material to the appropriate size. Leave an extra inch or two around all edges for trimming and tucking.
-
Spray the Adhesive
Shake the adhesive spray can vigorously for several minutes. Holding the can approximately 12 inches from the substrate, evenly spray adhesive onto the entire surface. Work in sections to prevent the adhesive from drying before applying the fabric.
-
Apply the Headliner Material
Gently lay the headliner material onto the adhesive-covered substrate, aligning it carefully. Use your hands or a soft rag to smooth out any wrinkles or air bubbles.
-
Tuck and Trim
Using a putty knife or your fingers, tuck the excess headliner material around the edges of the substrate, securing it firmly. Trim any excess material flush with the edges.
-
Use Water to Reactivate Adhesive
If you encounter any wrinkles or areas that are not properly bonded, spray a small amount of water onto the affected area. This will reactivate the adhesive, allowing you to reposition the material as needed.
-
How To Fix Headliner With Adhesive Spray
Clean Up and Reinstall
Use a clean rag to wipe away any excess adhesive or dirt. Reinstall any panels or trims that were removed during the process. Enjoy your newly restored headliner!
