To modify the content, simply follow these basic steps:
- Replace the existing article content with your new, unique, and interesting article.
- Ensure that the word count meets the minimum requirement of 1000 words.
- For the best user experience, organize the content using heading tags (
Are oil leaks giving you a headache? Don’t worry, we’ve got you covered! In this detailed guide, we will delve into the world of oil leaks, empowering you with the knowledge and confidence to tackle this common automotive issue like a pro.
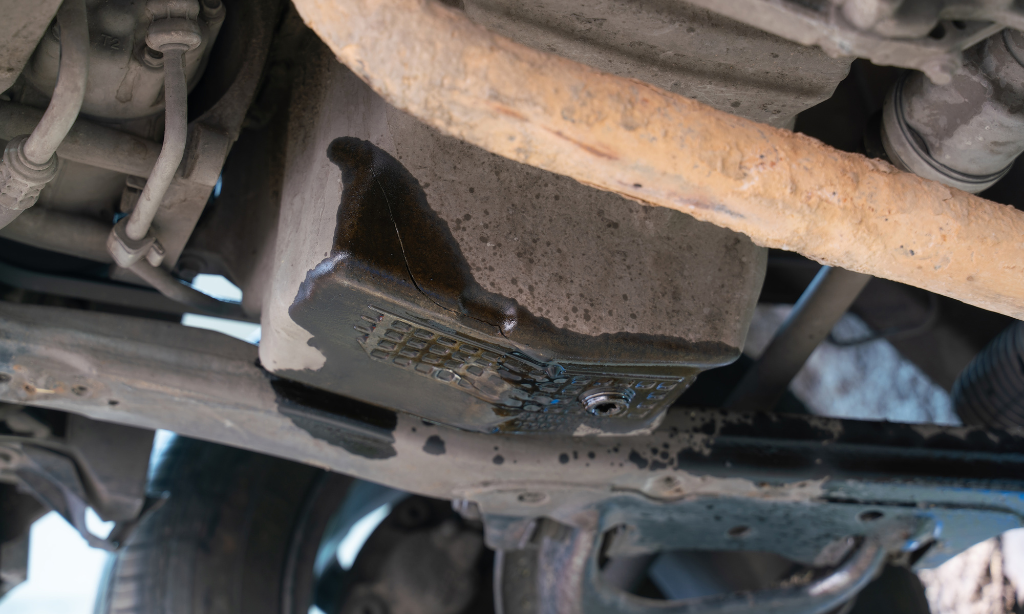
Image: automhelp.comWhat is an Oil Leak?
An oil leak occurs when engine oil escapes from a vehicle’s engine or lubrication system. These leaks can range from minor drips to serious gushes, and if left unattended, can lead to costly engine damage.
Importance of Fixing Oil Leaks
Neglecting oil leaks can have severe consequences for your vehicle’s engine:
- Low Oil Levels: Leaks reduce oil volume, potentially leading to oil starvation and overheating, causing engine wear and possible failure.
- Environmental Concerns: Oil leaks can pollute the environment, seeping into soil and waterways, posing a threat to wildlife and our ecosystems.
- Safety Hazards: Leaking oil can create slippery conditions under your vehicle, increasing the risk of accidents.
Identifying Oil Leaks
Recognizing the signs of an oil leak is crucial:
- Oil Spots Underneath: Dark, oily patches on the ground indicate potential leaks.
- Burning Smell: Leaking oil can drip onto hot engine parts, creating a burning smell.
- Low Oil Level Indicator: Regularly check your oil level. A sudden drop may signify an existing leak.

Image: www.youtube.comCommon Causes of Oil Leaks
Understanding the causes of oil leaks helps in identifying and resolving the issue:
- Faulty Gaskets or Seals: Worn or damaged gaskets and seals at various engine components can lead to leaks.
- Oil Pan Damage: Collisions or road hazards can puncture or crack the oil pan, causing leaks.
- Valve Cover Gaskets: Seals around the valve cover can fail over time, causing oil to seep out.
- Timing Case Cover Gaskets: Located near the engine timing components, leaking gaskets can lead to oil leaks.
- Oil Filter Housing: Loose or damaged oil filter housings can cause oil to leak from the filter connection point.
DIY vs. Professional Repair
Minor oil leaks may be manageable for DIY enthusiasts, while major leaks require professional attention:
- DIY: If the leak is minor and you’re comfortable with automotive repairs, you can attempt a DIY fix.
- Professional Repair: For significant leaks or complex engine issues, it’s advisable to seek professional assistance to prevent further damage.
Materials and Tools for DIY Oil Leak Repair
Gather the necessary tools and materials before starting a DIY oil leak fix:
- Replacement gaskets, seals, or components
- Wrenches and sockets
- Screwdriver
- Oil filter wrench
- Oil pan
- Rags
- Gloves
Step-by-Step DIY Oil Leak Repair Guide
- Safety First: Park the vehicle on a level surface and engage the parking brake. Avoid working on a hot engine; let it cool down for safety.
- Locate the Leak: Determine the source of the leak by visually inspecting the engine for oil stains or drips.
- Gather Materials: Assemble the necessary tools, materials, and replacement parts specific to the leak’s location.
- Tighten or Replace: Use wrenches or sockets to tighten loose bolts or replace damaged gaskets or seals. Ensure proper torque specifications are followed.
- Reinstall Components: Reinstall the oil filter, housing, or any other removed components, again following the correct torque specifications.
- Clean and Check: Clean the affected area to remove any remaining oil. Check the oil level and refill if necessary.
- Road Test: Start the engine and let it run for a short period. Check underneath the vehicle for any signs of leaks.
Professional Oil Leak Repair
If you’re not confident in DIY repairs or dealing with a complex oil leak, seeking professional assistance is the wiser choice:
- Diagnose: Mechanics will thoroughly inspect the vehicle and establish the leak’s root cause.
- Repair: Trained technicians will repair or replace the faulty components using proper tools and techniques.
- Testing and Inspection: After the repair, the mechanic will thoroughly test the vehicle and inspect the repaired area for signs of leaks.
Preventing Future Oil Leaks
To minimize the chances of future oil leaks:
- Regular Oil Changes: Regularly maintaining the vehicle’s oil and filter is crucial for preventing leaks from worn or clogged components.
- Inspect the Engine Bay: Periodically check for any potential leaks by looking for oil stains or pooling.
- Address Minor Leaks Promptly: Don’t delay repairs if you notice even a minor oil leak. Early detection and resolution prevent more significant issues.
How To Fix Oil Leak
Conclusion
Oil leaks are common automotive concerns that, if ignored, can lead to costly repairs or even engine damage. By understanding the causes and symptoms of oil leaks, you can make informed decisions about DIY repairs or professional assistance. Armed with the knowledge and guidance provided in this comprehensive guide, you’re well-equipped to prevent, identify, and rectify oil leaks, ensuring your vehicle’s optimal performance and longevity. Remember, a well-maintained engine is a happy engine, keeping your journeys smooth and hassle-free. Happy motoring!
