Introduction
Acrylic nails have become increasingly popular due to their durability and versatility. However, even the most well-cared-for acrylic nails can experience lifting, which can be unsightly and frustrating. If you find yourself dealing with a lifted acrylic nail, don’t despair. In this comprehensive guide, we’ll provide you with step-by-step instructions on how to fix it efficiently and effectively, so you can restore your nails to their former glory.

Image: www.youtube.com
Understanding What Causes Lifted Acrylic Nails
Before we delve into the repair process, it’s crucial to understand the common causes of lifted acrylic nails. These can include:
- Improper preparation of the natural nail
- Exposure to water or chemicals
- Overgrowth of the natural nail
- Trauma to the nail
- Use of low-quality products
Step-by-Step Repair Guide
To fix a lifted acrylic nail, follow these steps meticulously:
-
Gather Your Tools:
You’ll need a few essential tools for this repair:
- Nail file
- Nail buffer
- Acrylic monomer
- Acrylic powder
- Small nail brush
- Salon-grade nail glue (optional)
-
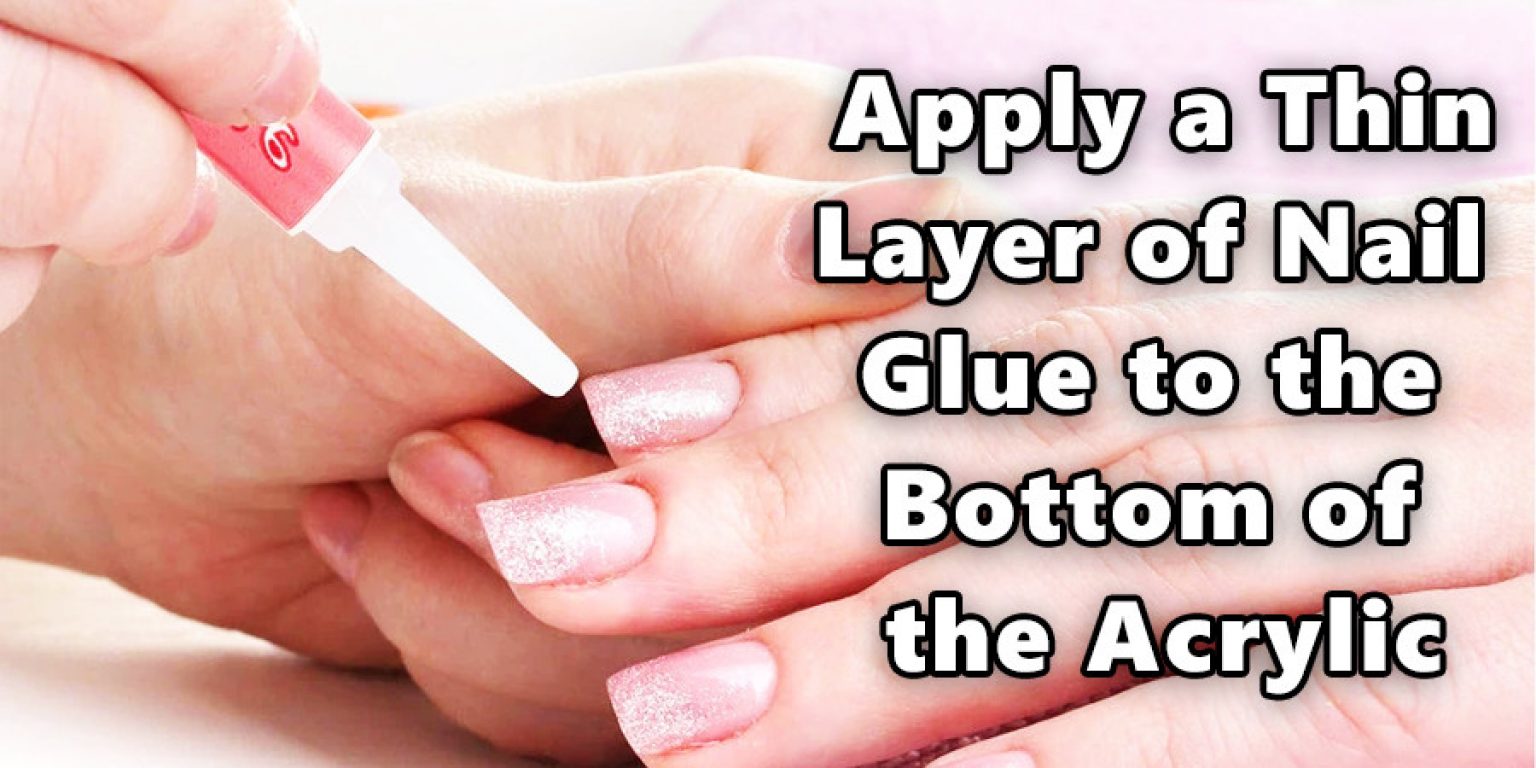
Image: diyquickly.comPrepare the Nail:
Gently file away the lifted part of the acrylic nail, taking care not to damage the natural nail underneath. Use a nail buffer to smooth out any rough edges, making sure the lifted area is level with the rest of the nail.
-
Apply Monomer and Powder:
Dip the small nail brush into the acrylic monomer and gently apply it to the lifted area. Then, dip the brush into the acrylic powder and dab it onto the wet monomer. Repeat this process until you have a small bead of acrylic on the lifted area.
-
Mold and Shape:
Using the nail brush, carefully mold and shape the acrylic bead until it blends seamlessly with the rest of the nail. Make sure to work quickly before the acrylic hardens completely.
-
File and Buff:
Once the acrylic has hardened, use a nail file to smooth out the repaired area. Start with a coarse file to remove any excess acrylic, then use a finer file to shape and contour the nail as desired. Finish by buffing the nail to achieve a natural-looking shine.
-
Seal the Repair (Optional):
For added durability, you can apply a small amount of salon-grade nail glue to the repaired area. This will help bond the acrylic to the natural nail even further. Allow the glue to dry completely before using your hands normally.
Expert Insights
Renowned nail technician, Sarah Howard, shares her insights: “When fixing lifted acrylic nails, it’s vital to use high-quality products specifically designed for acrylic nails. Avoid using regular nail glue or household adhesives, as they can weaken the nail and cause further damage.”
“Also, be patient and meticulous during the repair process. Rushing through the steps can result in a poorly repaired nail that may lift again prematurely,” adds Howard.
How To Fix A Lifted Acrylic Nail
Conclusion
Fixing a lifted acrylic nail can be a simple and effective way to restore your nails’ pristine appearance. By following the steps outlined above and incorporating the expert insights provided, you can achieve professional-looking results without the need for expensive salon visits. Remember to care for your repaired nail properly to prevent it from lifting again in the future.
After fixing your lifted acrylic nail, it’s important to prioritize nail care to maintain healthy and beautiful nails. Regularly apply cuticle oil to keep the nails and cuticles nourished. Avoid excessive exposure to harsh chemicals and wear gloves when performing household chores. Moreover, schedule regular nail appointments for professional maintenance and touch-ups to keep your nails looking flawless.
