Does the peeling ceiling in your bathroom make you cringe every time you look at it? Don’t worry; you’re not alone. Peeling ceilings are a common problem in many homes, especially in areas with high humidity like bathrooms. While they may not pose a significant structural threat, they can certainly detract from the aesthetics of your space and make you feel like your bathroom needs a major renovation.

Image: www.pinterest.com
The good news is that fixing a peeling bathroom ceiling is a relatively simple and inexpensive task that you can easily do yourself. With the right tools and materials, you can have your ceiling looking as good as new in no time. In this comprehensive guide, we’ll walk you through the step-by-step process of how to fix a peeling bathroom ceiling, providing you with all the information you need to get the job done right.
Step 1: Gather Your Tools and Materials
Before you get started, it’s essential to gather all the necessary tools and materials. Here’s a list of what you’ll need:
- Scraper or putty knife
- Spackling paste
- Painter’s tape
- Primer
- Paint
- Sandpaper (optional)
- Caulk gun and caulk (optional)
Step 2: Prepare the Ceiling
Begin by removing any loose paint or debris from the ceiling. Use a scraper or putty knife to gently scrape away any peeling paint or damaged drywall. Once the loose paint is removed, clean the ceiling with a damp cloth to eliminate any dust or dirt.
If there are any cracks or holes in the drywall, you’ll need to spackle them. Apply spackling paste to the cracks or holes using a putty knife. Smooth the spackle and wipe away any excess. Allow the spackle to dry completely.
Step 3: Apply Painter’s Tape
If you’re not confident in your painting skills or want to achieve clean, crisp lines, you can use painter’s tape to protect the walls and fixtures around the ceiling. Apply painter’s tape along the edges of the ceiling where it meets the walls, molding, or fixtures.
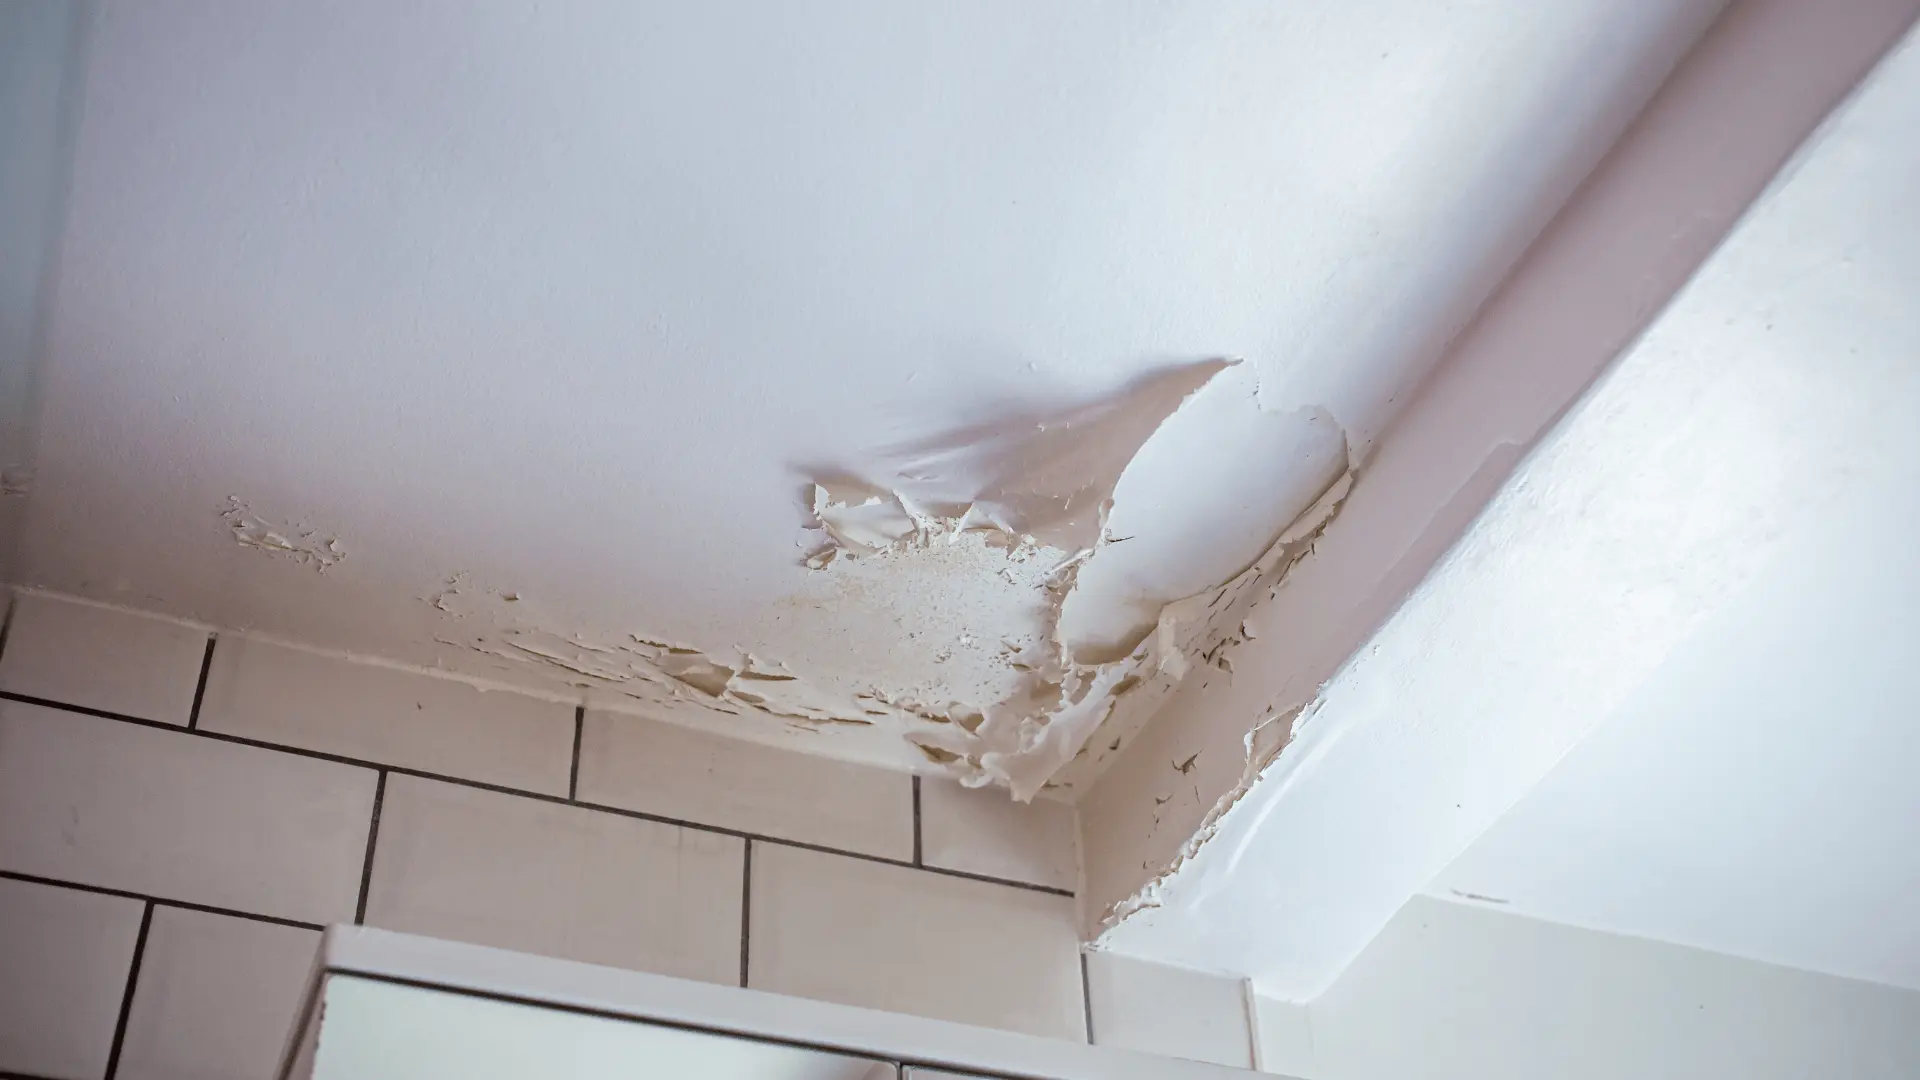
Image: diydojo.co.uk
Step 4: Prime the Ceiling
Primer helps create a smooth, even surface for the paint to adhere to. It also blocks stains and prevents the paint from peeling or bubbling in the future. Apply a coat of primer to the ceiling using a paint roller or brush. Allow the primer to dry completely.
Step 5: Paint the Ceiling
Now it’s time to paint the ceiling. Choose a paint that is specifically designed for ceilings. Apply a thin, even coat of paint using a paint roller. Allow the first coat to dry completely before applying a second coat. If necessary, apply additional coats until you achieve the desired coverage.
Step 6: Clean Up and Remove Painter’s Tape
Once the ceiling is painted and dry, carefully remove the painter’s tape. If any caulk has peeled or cracked, apply a fresh bead of caulk around the edges of the ceiling where it meets the walls or fixtures.
Additional Tips for Fixing a Peeling Bathroom Ceiling
- If the paint on your ceiling is peeling due to moisture, you may need to address the source of the moisture before repainting. Check for any leaks in your bathroom, such as around the sink, shower, or toilet. Fix any leaks promptly to prevent the peeling from reoccurring.
- If the peeling is severe, you may need to scrape off all the old paint and start from scratch. This can be a more time-consuming process, but it will ensure that the new paint adheres properly and provides a durable finish.
- Before you start painting, lightly sand the ceiling with fine-grit sandpaper to create a smooth surface for the paint to adhere to. This step is optional but can help achieve a more professional-looking finish.
How To Fix A Bathroom Ceiling That Is Peeling
https://youtube.com/watch?v=igNemvI9eGc
Enjoy Your Refreshed Bathroom
Congratulations! You’ve successfully fixed the peeling ceiling in your bathroom. With a little effort and attention to detail, you can now enjoy a refreshed and beautiful bathroom space. Remember, if you encounter any challenges along the way, don’t hesitate to seek advice from a professional contractor.
