Living with a dog can bring immeasurable joy, but it also comes with its own set of challenges, one of which is the potential for destructive chewing. Dog chewed door frames are a common problem, but fortunately, they can be repaired relatively easily with the right tools and techniques. This comprehensive guide will provide you with a step-by-step approach to fix dog chewed door frames, restoring them to their original condition and preventing further damage.
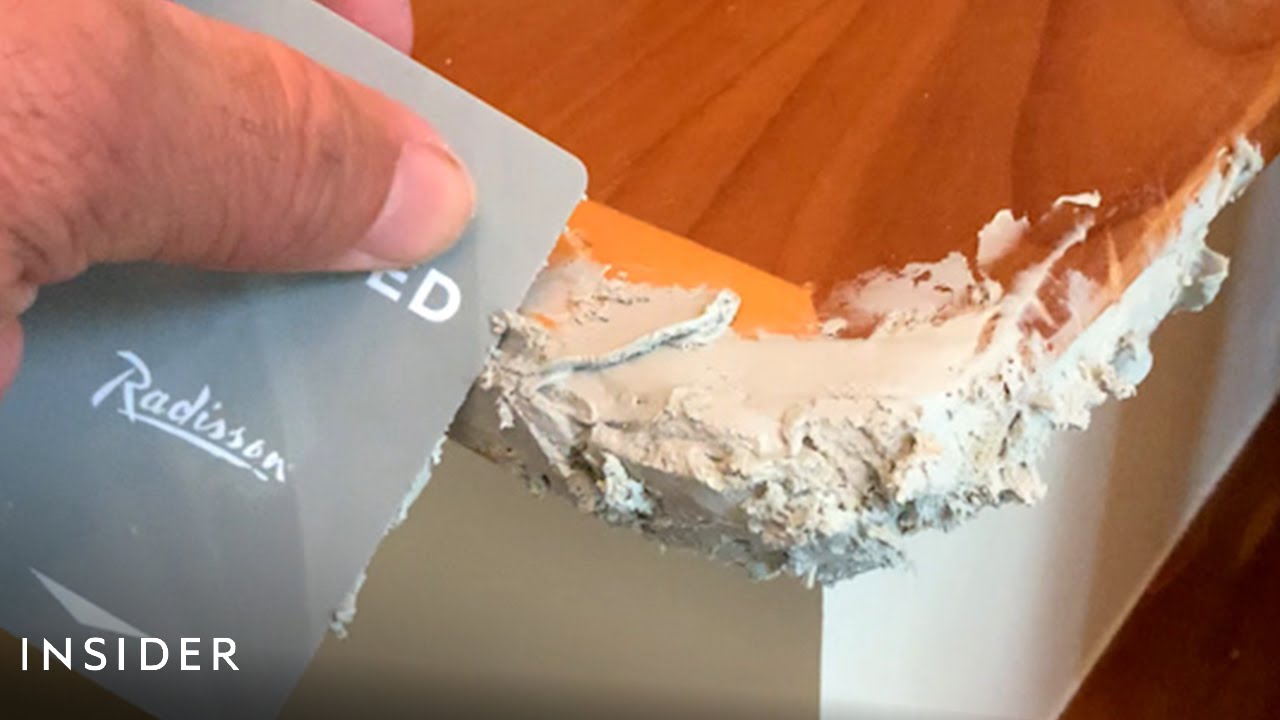
Image: www.youtube.com
Understanding the Basics: Why Do Dogs Chew Door Frames?
Before delving into the repair process, it’s essential to understand why dogs chew door frames. Several factors contribute to this behavior, including teething, separation anxiety, boredom, and attention-seeking.
-
Teething: Puppies experience discomfort during teething, leading them to chew on objects for relief. Door frames, with their accessible edges and varying textures, are often enticing targets.
-
Separation Anxiety: Dogs suffering from separation anxiety may chew door frames as a way to cope with the stress of being left alone. This behavior is often accompanied by other signs, such as destructive chewing of other objects, barking, and excessive salivation.
-
Boredom: Underexercised or understimulated dogs may engage in chewing as a means of entertainment. Providing ample toys and regular mental and physical stimulation can alleviate boredom and reduce the likelihood of destructive chewing.
-
Attention-Seeking: Some dogs resort to chewing door frames to get their owners’ attention. This behavior can be reinforced when the dog receives attention or a reaction from the owner after chewing.

Image: t-h-e-door.blogspot.com
How To Fix Dog Chewed Door Frame
Step-by-Step Guide to Repairing Dog Chewed Door Frames
Materials Required:
- Wood filler
- Sandpaper (fine and coarse grit)
- Putty knife
- Sanding sponge or sanding block
- Paint (optional)
- Paintbrush (optional)
Step 1: Safety First
- Ensure the dog is removed from the area and cannot access the damaged door frame.
- Wear a mask and gloves to protect against dust and splinters.
Step 2: Assess the Damage
- Determine the extent of the damage, noting the areas that need repair.
Step 3: Remove Loose Wood and Splinters
- Use a sharp knife or utility blade to carefully remove any loose wood or splinters around the chewed area.
- Be gentle to avoid further damage to the wood.
Step 4: Fill the Holes with Wood Filler
- Apply a generous amount of wood filler into the chewed areas using a putty knife.
- Smooth the filler using the putty knife, ensuring that it fills the holes completely.
Step 5: Allow Filler to Dry
- Follow the manufacturer’s instructions for the wood filler’s drying time.
- Protect the filled areas from dust and debris.
Step 6: Sand the Filler
-
Once the filler is completely dry, sand it using fine-grit sandpaper.
-
Use a sanding sponge or sanding block for a smooth finish.
-
Start with coarse-grit sandpaper to remove excess filler, then switch to fine-grit sandpaper for a smooth finish.
Step 7: Prime the Repaired Area (Optional)
- If you intend to paint the repaired door frame, apply a coat of primer to the filled area to ensure better paint adhesion.
- Allow the primer to dry according to the manufacturer’s instructions.
Step 8: Paint the Repaired Area (Optional)
- Use a paintbrush to apply one or two coats of paint to the repaired area, matching the original color of the door frame.
- Allow the paint to dry completely.
Step 9: Protect Restored Surface
- To prevent further damage, apply a thin coat of clear sealant or polish to the repaired area.
