As homeowners, we take pride in maintaining our homes in pristine condition. However, time and wear can take their toll, resulting in various issues that require attention. One common problem that can arise is sagging floors. This not only compromises the structural integrity of your home but can also pose safety hazards. If you’re facing this issue, worry not! In this comprehensive guide, we’ll equip you with the knowledge and techniques to effectively fix sagging floors and restore the structural stability of your abode.

Image: mavink.com
Understanding Sagging Floors
Sagging floors occur when the structural support underneath them weakens or fails to support the weight they carry. This can be disebabkan by a variety of factors, including:
- Deterioration of floor joists or support beams
- Excessive weight on the floor
- Water damage or insect infestation
- Poor construction practices
Recognizing the signs of sagging floors is the first step towards addressing the issue. Some telltale signs include:
- Uneven or bouncy flooring
- Squeaky or creaky noises when you walk
- Cracks or gaps in the floorboards
- Visual sagging or bowing of the floor
Assessing the Type of Sagging Floor
Before embarking on the repair process, it’s crucial to determine the type of sagging floor you’re dealing with. There are two main types:
1. Joist Sagging
Joist sagging occurs when the floor joists, which are the horizontal beams that support the floorboards, become weakened or damaged. This can be caused by:
- Overload
- Water damage
- Wood rot
- Improper installation

Image: nickiloper.blogspot.com
2. Subfloor Sagging
Subfloor sagging refers to when the subfloor, which is the layer of material beneath the floorboards, becomes weak or damaged. This can be caused by:
- Moisture damage
- Insect infestation
- Improper installation
Tools and Materials Required
To successfully fix sagging floors, gather the following tools and materials:
- Floor jack
- Hydraulic pump
- Straight edge
- Level
- Shims
- Wood screws
- Construction adhesive
- Plywood or OSB boards
- Power drill
- Circular saw or reciprocating saw
Step-by-Step Guide to Fixing Sagging Floors
Now that you’re equipped with the necessary tools and materials, follow these step-by-step instructions to fix your sagging floor:
1. Locate the Sagging Area
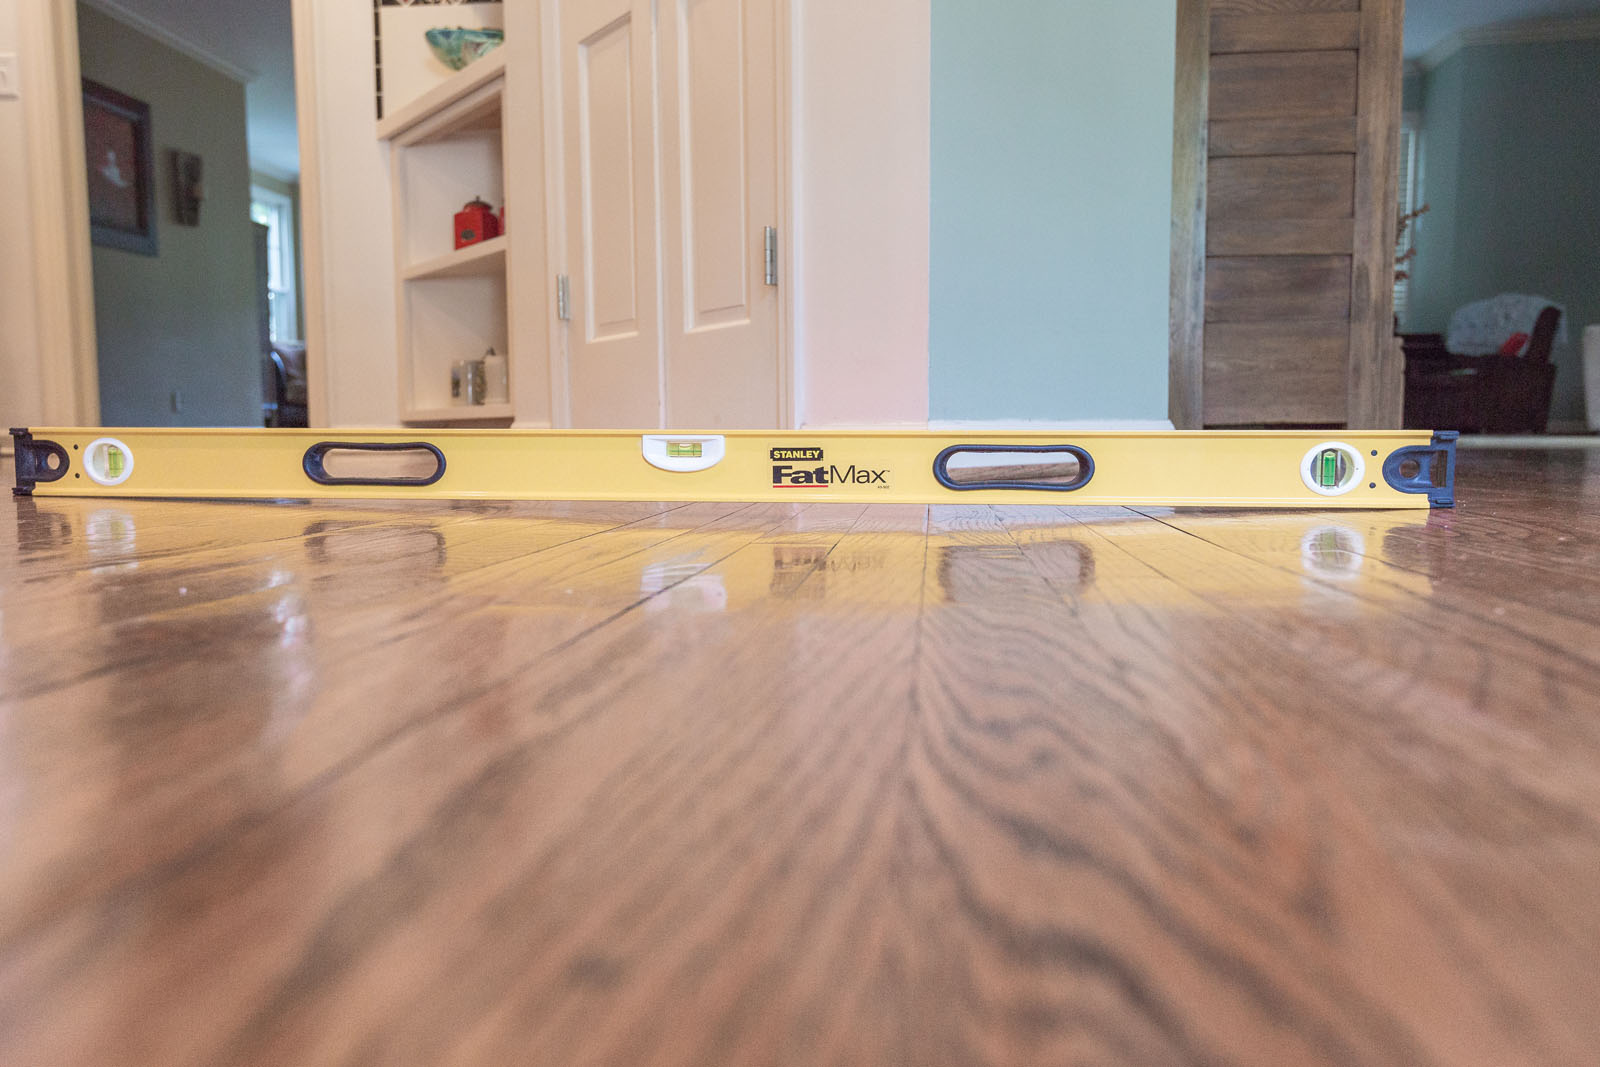
Start by identifying the area of the floor that is sagging. Use a straight edge or level to check for any unevenness. Mark the center of the sagging area with a pencil.
2. Set Up the Floor Jack
Position the floor jack under the marked area. Pump the hydraulic pump to raise the jack until it makes contact with the subfloor or floor joists.
3. Raise the Floor
Slowly pump the hydraulic pump to raise the sagging floor. Use a level to check the progress and stop when the floor is level.
4. Insert Shims
Insert shims between the subfloor or floor joists and the jack. This will provide support and keep the floor in place.
5. Secure the Floor
Using wood screws, secure the shims to the subfloor or floor joists. This will provide additional support and prevent the floor from sagging again.
6. Repair the Damaged Floor Joists (If Required)
If the floor joists are damaged, they may need to be repaired or replaced. Cut out the damaged section and replace it with a new joist of the same size. Secure the new joist in place using construction adhesive and wood screws.
7. Install Plywood or OSB Boards
If the subfloor is sagging, you may need to install additional plywood or OSB boards over the existing subfloor. Cut the boards to fit and screw them into the subfloor.
8. Re-Level and Finish the Floor
Once the repair is complete, re-level the floor using a level and make any necessary adjustments to the shims. Finally, refinish the floor as desired, such as by sanding, staining, or installing new flooring.
How To Fix Sagging Floor
Conclusion
Fixing sagging floors can be a challenging but rewarding task that restores the structural integrity of your home and enhances its safety. By understanding the different types of sagging floors, gathering the necessary tools and materials, and following the step-by-step guide provided in this article, you can effectively address this issue. If you encounter any difficulties or require professional assistance, don’t hesitate to consult a qualified contractor or flooring specialist. Remember to prioritize safety throughout the repair process and enjoy the satisfaction of a level and stable floor in your home.