Scratches can be an unsightly nuisance in any flooring, and vinyl flooring is no exception. However, unlike traditional flooring materials like hardwood, vinyl’s unique composition allows for a range of effective repair methods. From shallow surface scratches to deeper gouges, this comprehensive guide will empower you with the knowledge and techniques to restore the pristine appearance of your vinyl flooring.
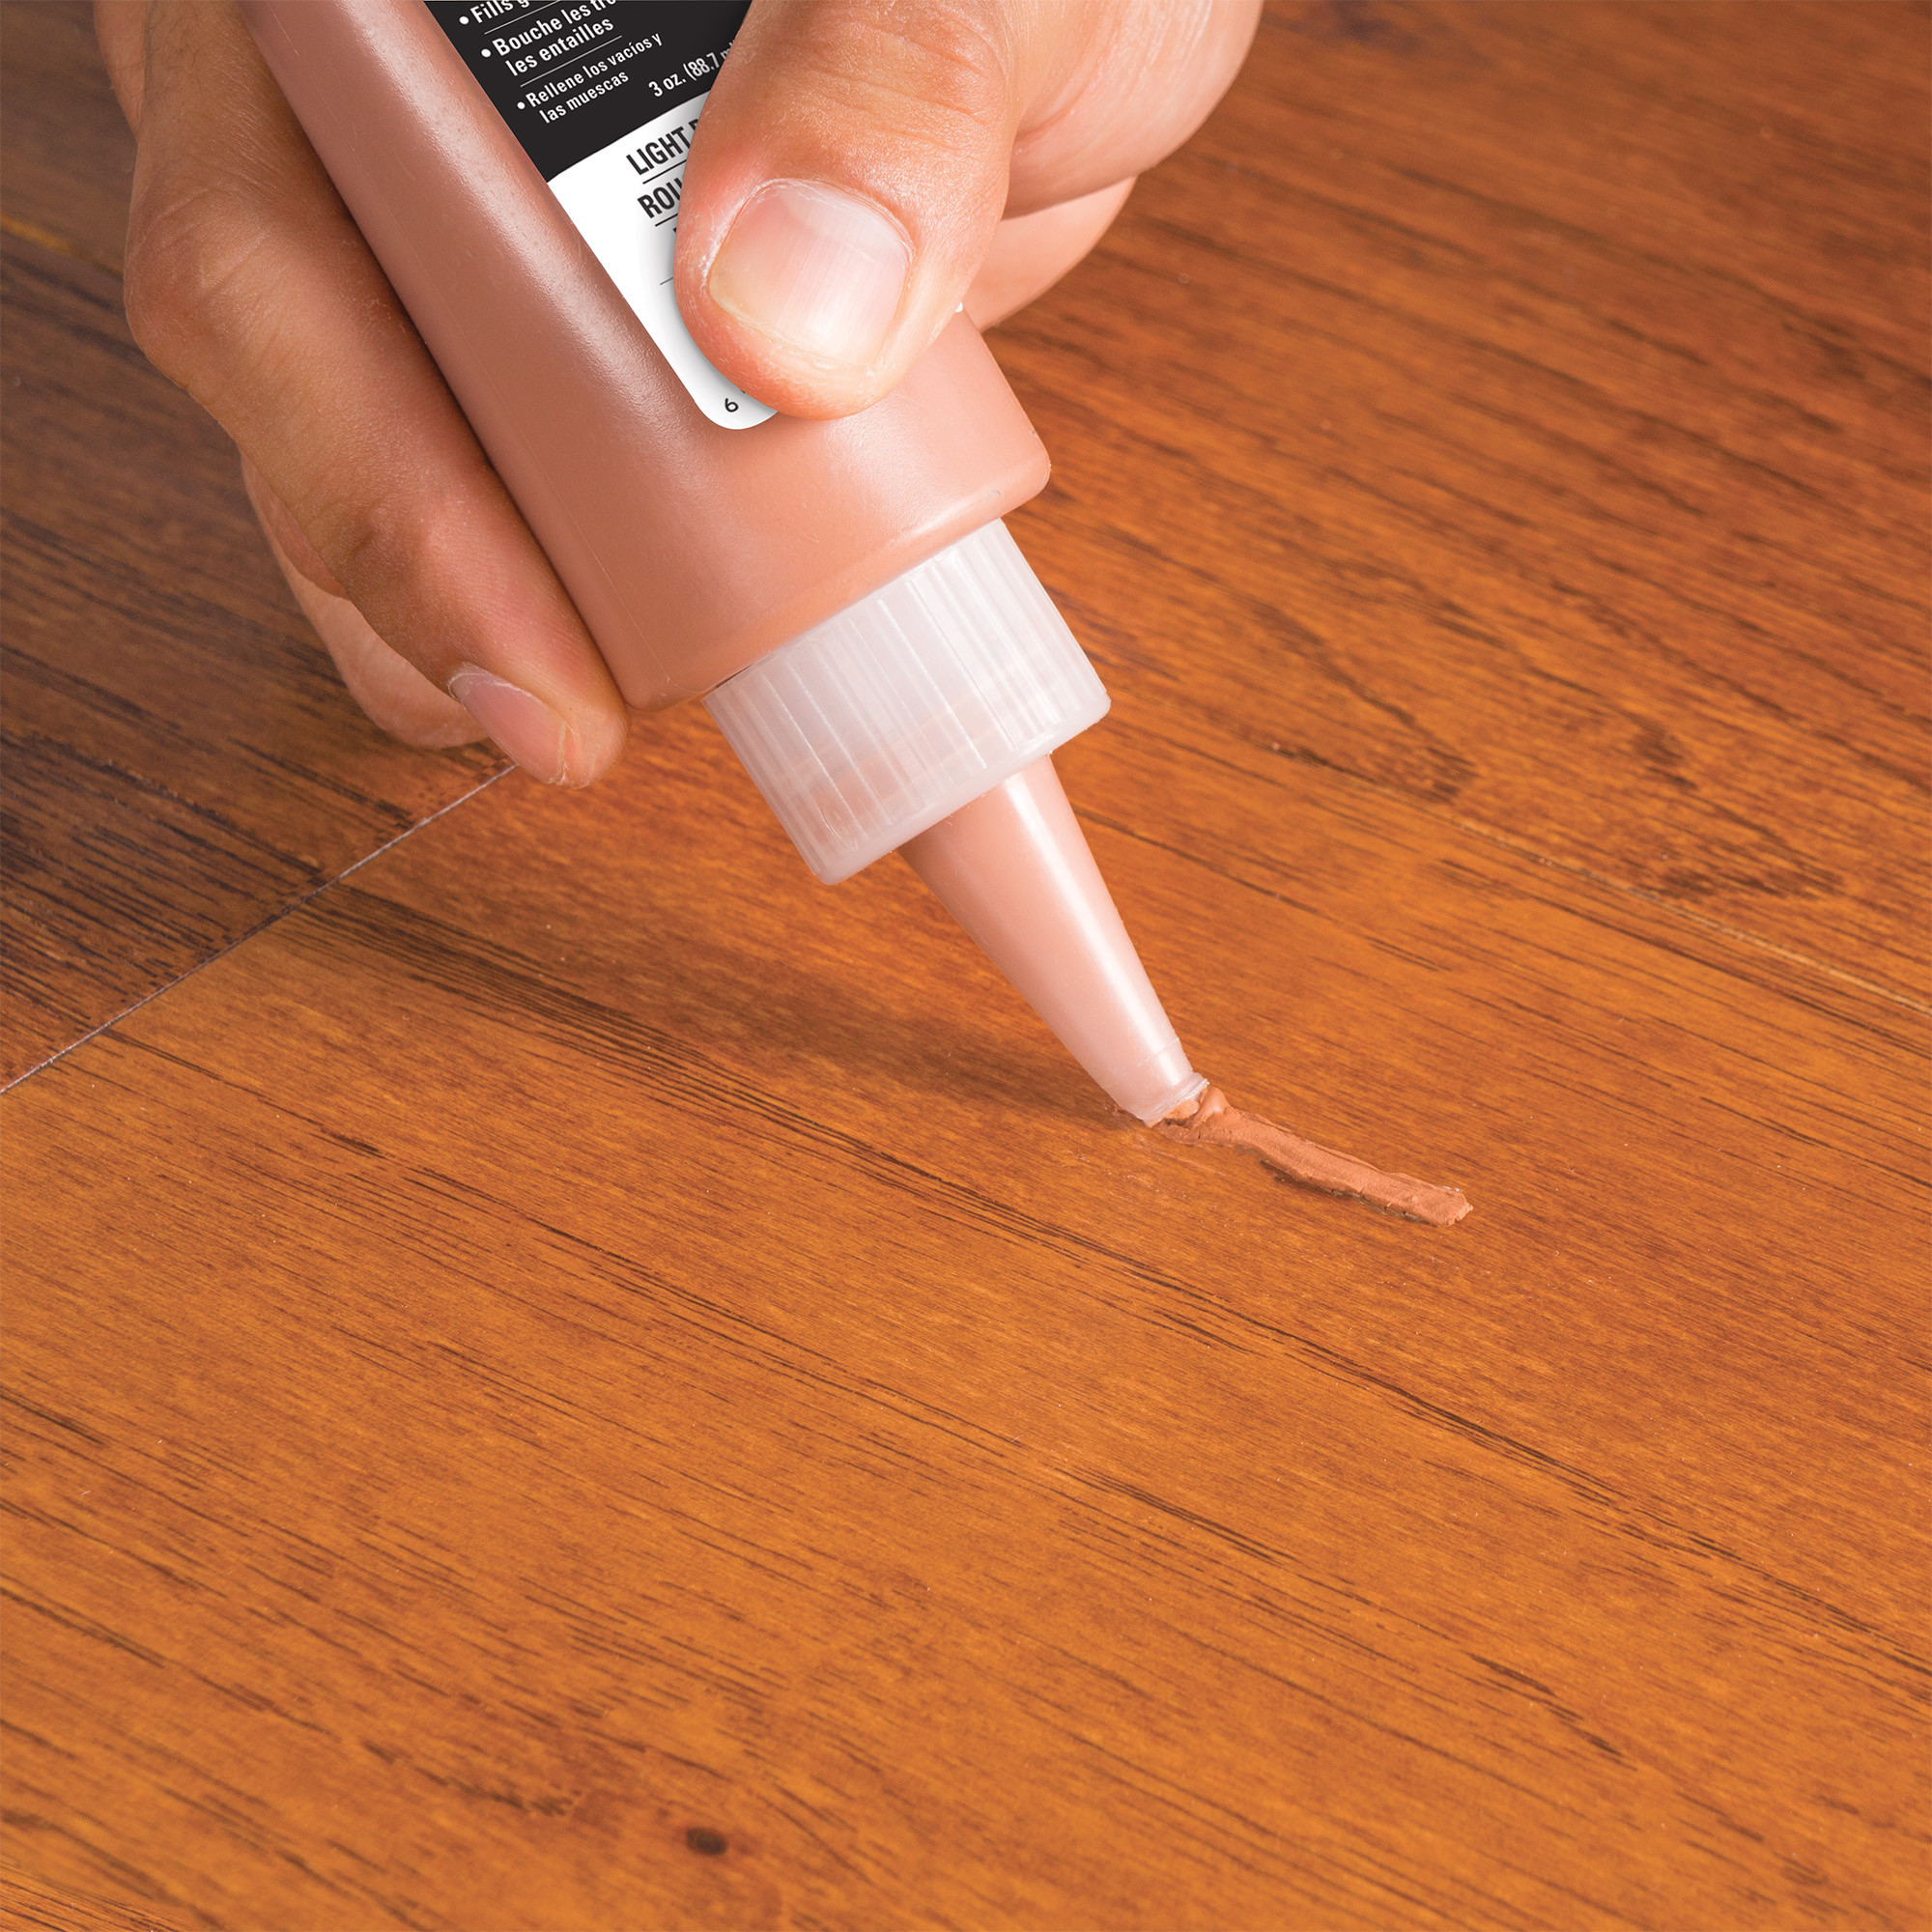
Image: www.hanhent.com
Understanding Vinyl Flooring and Scratch Types
Vinyl flooring is a durable and versatile flooring option, often used in homes, offices, and commercial spaces. It consists of multiple layers, including a top protective layer called the wear layer, which is responsible for resisting scratches and other forms of damage. However, even with proper care, scratches can occur due to everyday wear and tear or accidental mishaps.
Scratches can be classified into three main types:
- Surface scratches: Light scratches that affect only the wear layer.
- Moderate scratches: Deeper scratches that penetrate the wear layer and expose the underlying layers.
- Deep scratches: Severe scratches that reach through all layers of the flooring, potentially exposing the subfloor.
Essential Tools and Materials
Before embarking on the repair process, gather the following essential tools and materials:
- Fine-grit sandpaper (120-220 grit)
- Sanding block or sponge
- Vinyl repair kit or filler
- Putty knife
- Clean cloth or sponge
- Rubbing alcohol or vinyl cleaner
- Clear acrylic topcoat (optional)
Repairing Surface Scratches
Surface scratches are the easiest to repair and can be addressed using the following steps:
- Clean the scratch thoroughly with rubbing alcohol or vinyl cleaner to remove any dirt or debris.
- Lightly sand the scratch using fine-grit sandpaper. Be gentle and avoid applying excessive pressure.
- Apply a small amount of vinyl repair filler or nail polish slightly over the scratch using a putty knife.
- Allow the filler to dry, then wipe away any excess using a clean cloth or sponge.

Image: vinylflooring45.blogspot.com
Repairing Moderate Scratches
Moderate scratches may require more extensive repair:
- Clean the scratch as described above.
- Remove any loose material or debris from the scratch using a sharp object.
- Apply vinyl repair filler or epoxy below the surface of the scratch using a toothpick or similar tool.
- Cover the filler with vinyl repair tape or aluminum foil.
- Weigh down the tape or foil with a heavy object and let it sit for at least 24 hours to ensure a strong bond.
- Remove the tape or foil and ensure the filler is flush with the surface of the flooring.
Repairing Deep Scratches
Deep scratches require professional attention, as they can potentially damage the subfloor. For such scratches, consider consulting a flooring specialist or experienced do-it-yourselfer.
Preventing Scratches and Prolonging Vinyl Flooring Life
To prevent scratches and maintain the longevity of your vinyl flooring, follow these tips:
- Use floor protectors under furniture legs and heavy appliances.
- Place rugs or mats in high-traffic areas to reduce friction.
- Regularly sweep or vacuum your floor to remove dust and grit.
- Avoid using abrasive cleaners or brushes.
- Clean spills and moisture promptly to prevent water damage, which can weaken the flooring and make it more susceptible to scratches.
How To Fix Scratches In Vinyl Flooring
Conclusion
Fixing scratches in vinyl flooring is a manageable task with the right tools, materials, and techniques. By following the steps outlined in this guide, you can effectively restore the appearance and integrity of your flooring. Remember to take preventive measures to minimize future scratches and prolong the life of your vinyl flooring investment.
