Introduction

Image: www.silverthorneattorneys.com
Your tail light, a crucial component safeguarding your nighttime visibility and the safety of fellow motorists, may occasionally crack or break due to accidents, road debris, or general wear and tear. While replacing the entire assembly might seem tempting, a more cost-effective and rewarding solution lies in repairing the fractured lens yourself. This article will guide you step-by-step on how to fix a broken tail light lens using simple materials and techniques.
Materials You’ll Need
-
Clear adhesive tape (packing tape or duct tape)
-
Sandpaper (220 grit and 400 grit)
-
Rubbing alcohol
-
Clean cloth or paper towels
-
Heat gun or hair dryer
-
Plastic welder or super glue (optional)
Safety Precautions
Before commencing any repair, ensure your safety by wearing gloves to protect your hands from sharp edges and adhesive residue. Additionally, if using a heat gun, maintain a safe distance from the work surface to prevent burns.
Step-by-Step Repair Instructions
-
Secure the Broken Pieces: Apply clear adhesive tape to the fractured areas, carefully aligning the broken pieces. This temporary measure will hold them together during the repair process.
-
Clean the Broken Surfaces: Using rubbing alcohol and a clean cloth, thoroughly clean both surfaces of the broken lens where they will be reattached. This step removes any dirt or debris that may hinder adhesion.
-
Sand the Surfaces (Optional): Lightly sand the surfaces to be bonded using the 220 grit sandpaper. This will create a rougher texture, enhancing the adhesion of the glue or plastic welder. Wipe away any sanding dust with a damp cloth.
-
Apply Plastic Welder or Super Glue: If using a plastic welder, follow its specific instructions for application. Alternatively, apply a thin layer of super glue along the broken edges, ensuring uniform coverage.
-
Align and Press: Carefully align the broken pieces and apply firm pressure to join them. Use a cloth or paper towel to prevent finger contact with the adhesive. Hold them together for several minutes to allow the glue to set initially.
-
Smooth and Reinforce: Once the initial bond has set, use the 400 grit sandpaper to gently smooth any excess glue or sharp edges around the repair area. For added reinforcement, apply a thin layer of clear adhesive tape over the repaired joint.
-
Heat Treatment: Using a heat gun or hair dryer on a low heat setting, gently heat the repaired area to further strengthen the bond. Be cautious not to overheat the plastic, as it may warp or discolor.
-
Final Inspection: Allow the repaired tail light lens to cool completely and conduct a thorough visual inspection to ensure a secure bond. If any gaps or cracks remain, repeat the sanding and gluing process as necessary.
Additional Tips
-
For larger cracks or missing pieces, consider using a plastic welding kit that melts and fuses the plastic together.
-
If you lack a heat gun, you can use a lighter to gently heat the plastic for a short duration, taking care to avoid direct contact with the flame.
-
Once repaired, protect the tail light lens from future damage by applying a layer of clear spray paint or sealant specifically designed for automotive plastics.
Conclusion
Repairing a broken tail light lens is a simple and cost-effective task that can be accomplished using readily available materials and a little patience. By following these step-by-step instructions, you can restore the functionality of your tail light, ensuring your safety on the road while avoiding costly replacements. Remember, with a bit of care and attention to detail, you can keep your vehicle in pristine condition and maintain peace of mind during nighttime driving.
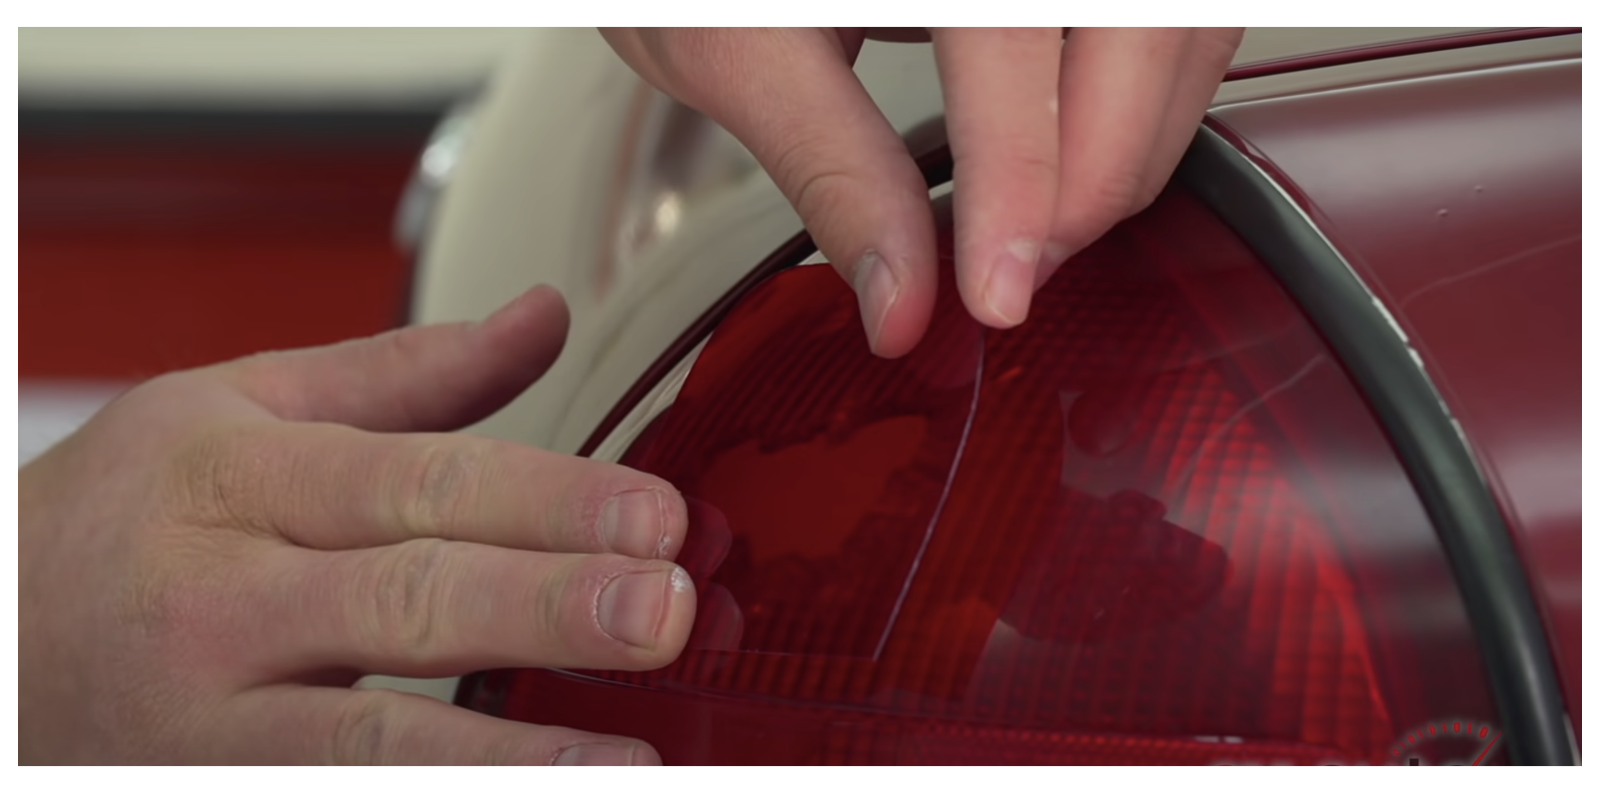
Image: www.bonanza.com
How To Fix Broken Tail Light Plastic
