The latest information about How To Replace The Needle On A Crosley Record Player that you need can be found in this article, all of which we have summarized well.

How to Effortlessly Replace the Needle on Your Crosley Record Player
Listening to vinyl records is an experience like no other. The sound is warm, the crackle is nostalgic, and the ritual of playing a record is oddly therapeutic. But, like all good things, your Crosley record player’s needle will eventually need to be replaced. Don’t worry, it’s a relatively simple process that can be completed in just a few minutes. Here’s a step-by-step guide to help you out.
Before we dive into the specifics, let’s talk about why replacing your needle is important. A worn-out needle can damage your records, causing skips, pops, and other unwanted noises. It can also affect the sound quality, making your music sound muffled or distorted. By replacing your needle regularly, you can extend the life of your records and enjoy your music to the fullest.
Step-by-Step Guide to Replacing Your Crosley Needle
Materials you’ll need:
- New Crosley needle
- Small screwdriver (usually included with your Crosley record player)
- Optional: Magnifying glass (for better visibility)
Instructions:
- Unplug your record player: Safety first! Always unplug your record player before attempting any repairs.
- Locate the cartridge: The cartridge is the small, rectangular housing that holds the needle. It’s usually located at the end of the tonearm.
- Remove the old needle: Using the small screwdriver, carefully unscrew the two screws that hold the needle in place. Gently pull the old needle straight out of the cartridge.
- Insert the new needle: Line up the new needle with the cartridge and gently push it into place. Make sure it’s seated all the way down.
- Tighten the screws: Use the screwdriver to tighten the two screws that hold the needle in place. Don’t overtighten them, just snug them up.
- Rebalance the tonearm: This step is important to ensure that the needle is tracking the records properly. Consult your Crosley record player’s user manual for specific instructions on how to rebalance the tonearm.
- Test it out: Plug your record player back in and play a record. Listen for any skips, pops, or other noises. If everything sounds good, you’re all set!
Tips and Expert Advice for Replacing Your Crosley Needle
Use the correct needle: Not all needles are created equal. Make sure you’re using the correct needle for your specific Crosley record player model. You can find the recommended needle type in your player’s user manual or on the Crosley website.
Replace your needle regularly: The lifespan of a needle varies depending on how often you use your record player. As a general rule of thumb, it’s a good idea to replace your needle every 1,000 to 2,000 hours of playback.
Clean your records: Dirty records can prematurely wear out your needle. Make sure to clean your records regularly with a soft brush or a record cleaning solution.
Handle the needle with care: The needle is a delicate component, so it’s important to handle it with care. Avoid touching the needle with your fingers, and never try to bend or straighten it.
FAQs About Replacing Crosley Needles
Q: How often should I replace my Crosley needle?
A: As a general rule of thumb, it’s a good idea to replace your Crosley needle every 1,000 to 2,000 hours of playback.
Q: Can I replace the needle on any Crosley record player?
A: Most Crosley record players use the same type of needle. However, it’s always a good idea to consult your player’s user manual to be sure.
Q: What are the signs that my Crosley needle needs to be replaced?
A: Some signs that your Crosley needle needs to be replaced include skips, pops, and other unwanted noises. You may also notice a decrease in sound quality.
Conclusion
Replacing the needle on your Crosley record player is a simple and straightforward process that can be completed in just a few minutes. By following the steps outlined in this guide, you can ensure that your record player is performing at its best and that your records are being played with the utmost care.
So, next time your needle needs to be replaced, don’t panic. Just grab a new one and follow these instructions. With a little bit of care and attention, you can keep your Crosley record player spinning for years to come.
Are you interested in learning more about Crosley record players or vinyl records in general? Let us know in the comments below!
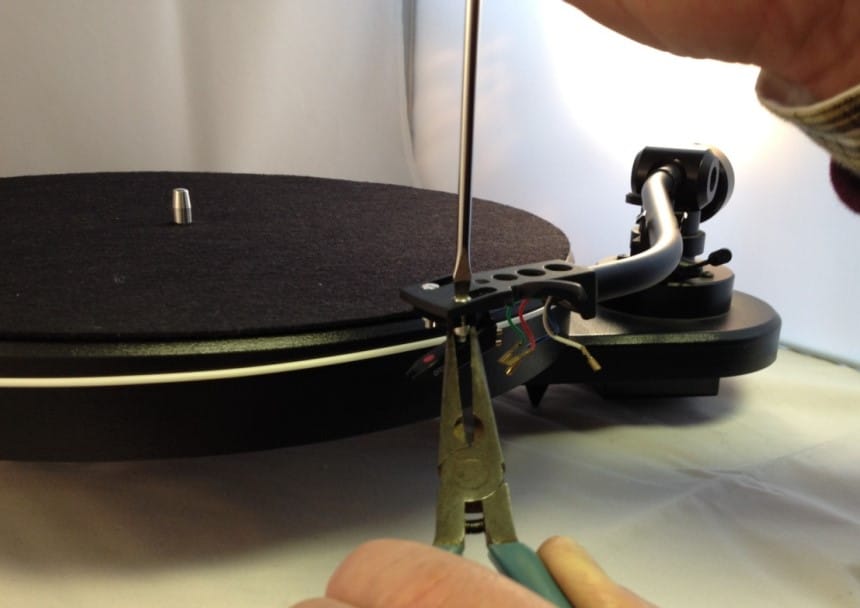
Image: houseandbeyond.org
You have read How To Replace The Needle On A Crosley Record Player on our site. Thank you for your visit, and we hope this article is beneficial for you.
